
Fitting the floor mats is one of those job on a seemingly endless list of little jobs. Every time I tick one job off, I think of another that I have forgotten to put on this list in the first place.
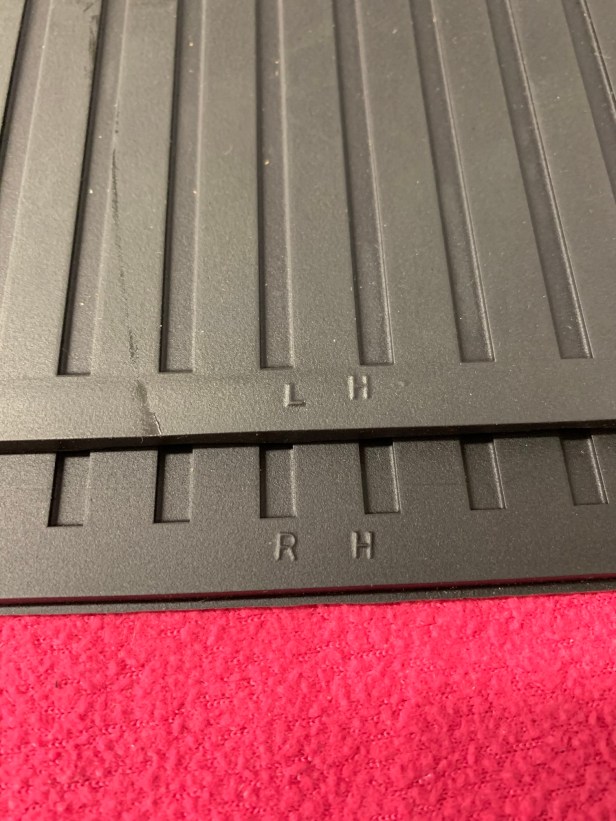
Mats are handed 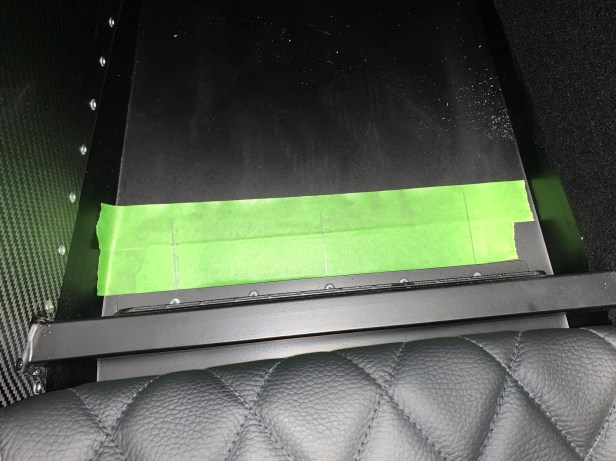
Mark the popper base location 
Avoid the floor support
The mats are handed, but don’t exactly fit the lowered floors on my Caterham, so I decided to fit the popper bases to the floor first. I wanted to get the base as close as I possibly could to the lowered floor support, but still have enough room for the popper not to foul that support.

Mark the mat with a pick through the hole drilled in the floor 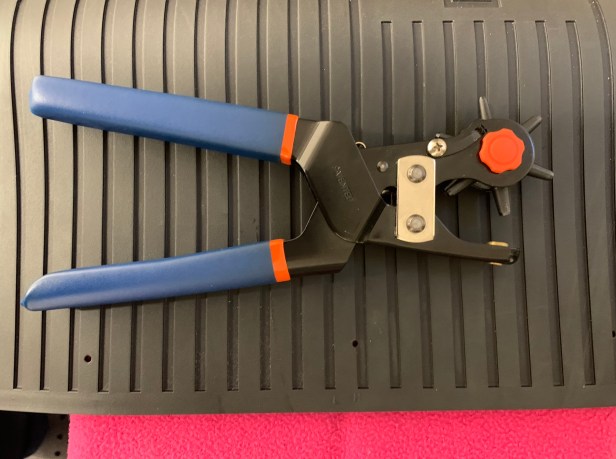
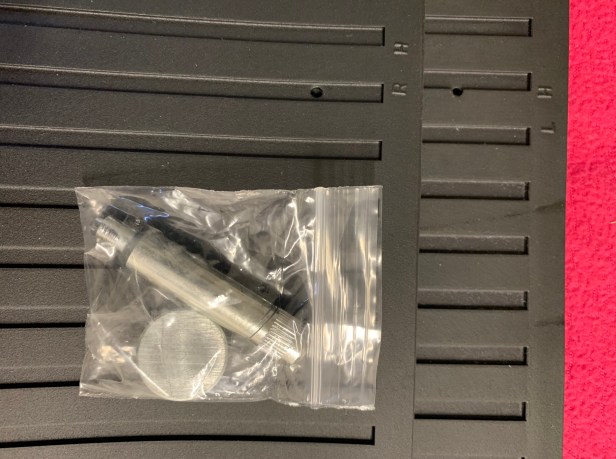
Punch the holes in the mat
With the holes drilled for the popper bases, I placed the mat on the floor and used a strong pick to push up through the floor into the mat and create a mark for the popper hole locations in the mat. I used a hole punch tool to create the hole for the popper.
Popper fitting tool 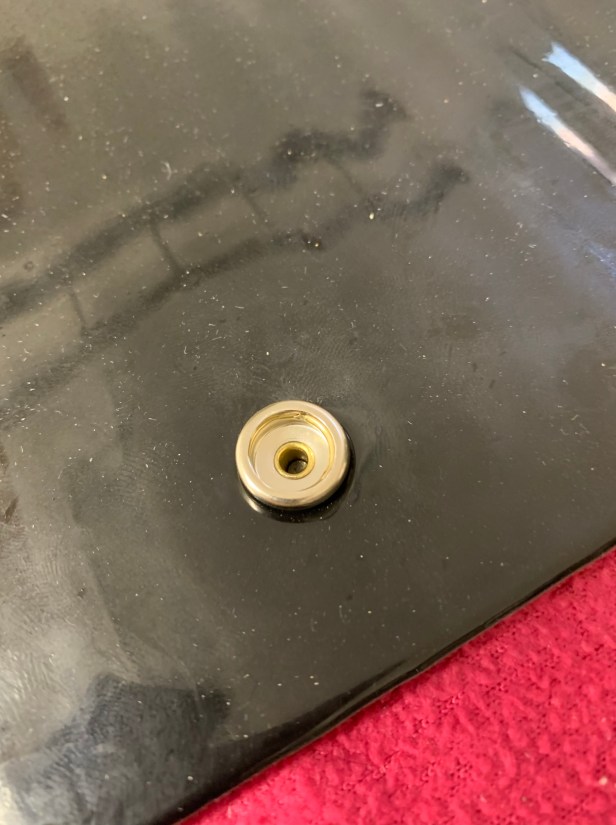
Fit the poppers to the mat 
Popper base needed a few washers while fitting the pop rivet
Using a popper tool I hammered the poppers into the mats. The final step was to pop rivet the popper base onto the floor, which presented a minor problem, the popper base prevented the pop rivet tool from reaching the rivet. I solved this problem with a few small washers between the riveter and the rivet. These washers are only used during the riveting process and break free once riveted.

Tools Used
- Pop riveter
- Hammer
- Popper tool
- Hole punch
- Strong Pick
- Drill
