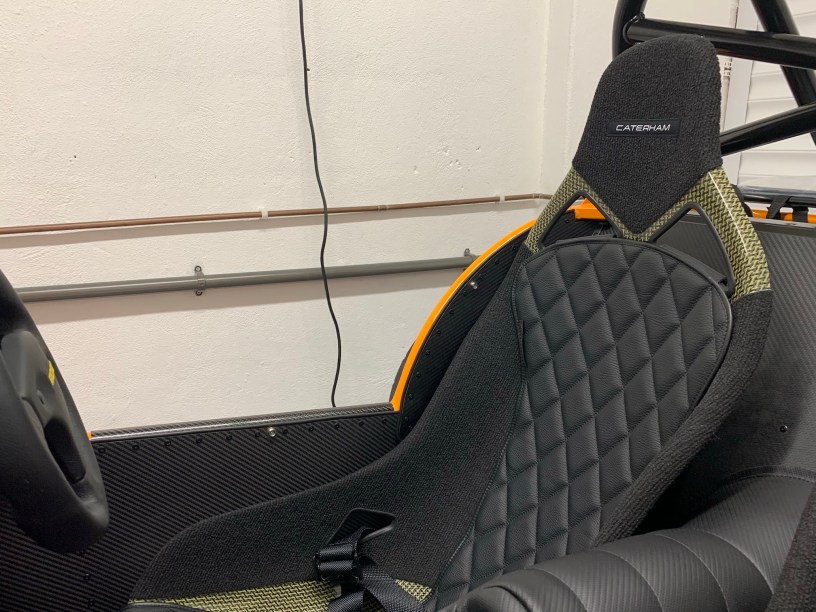
I know fitting these Tillet seats was going to be a pain; they were so tricky to fit in my Sigma 150, and yet I still ordered them knowing what they are going to put me through. I don’t want this blog to be a build diary, so I have listed all the failed attempts and the reasons at the end of this post.
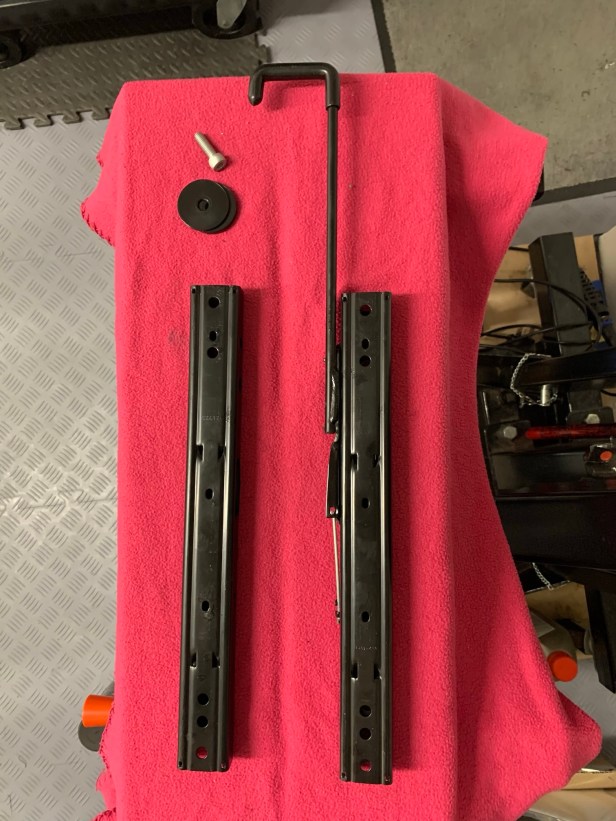
Seat runners 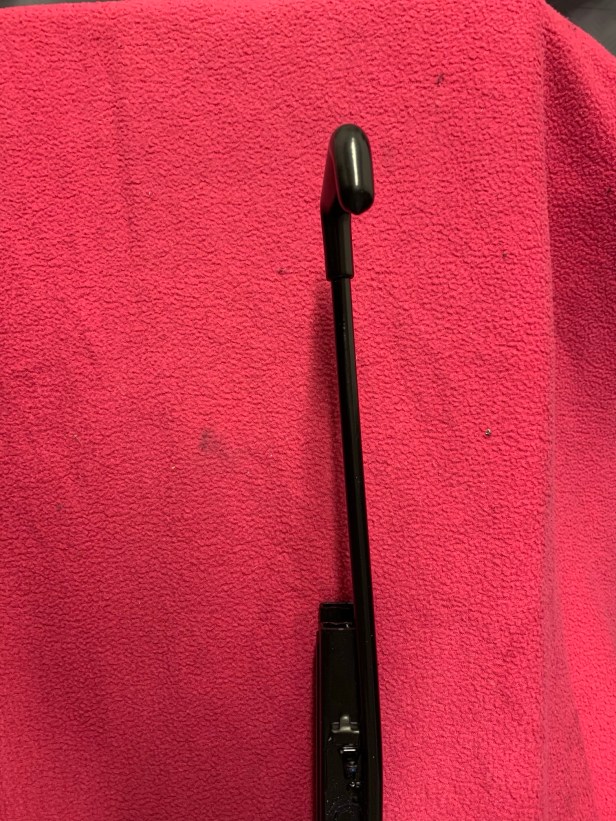
Bend the latch arm as needed or the runner won’t release
I started the process by bending the runner release handle down, because I have lowered floors fitted and the hole in the lowered floor strengthening bracket prevents the runner from releasing. To test the bend was enough, I fitted the runner to the chassis floor and checked I could release the runner in any position.

Seat ready for the runners 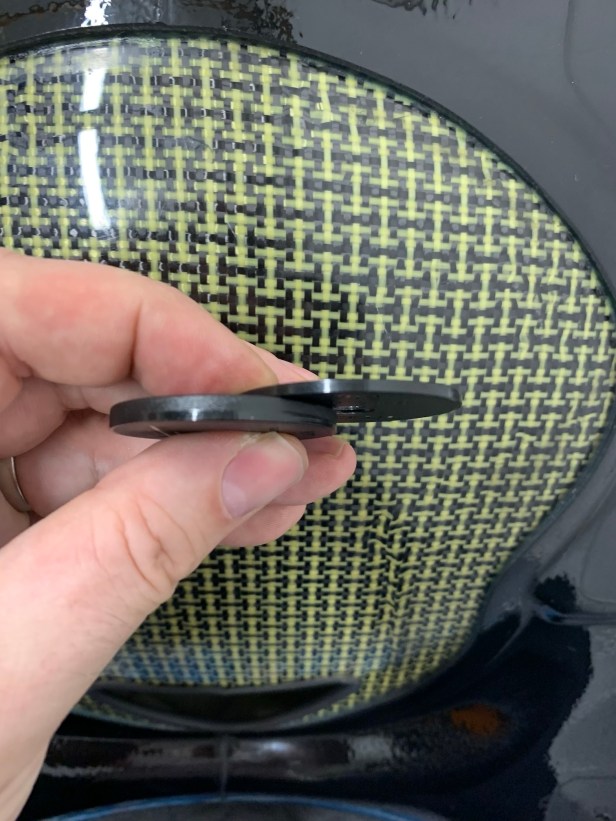
Seat runner spacers 
Runners fitted – and slid forward ready to install
The new manual (v1.2 and v2.0) recommended spacers are fitted between the seat and the runners. I followed the new manual‘s (v1.2 and v2.0) recommendations, and fitted one thick and one thin spacer to all accept the front right-hand side (or the front bolt of the runner with the release handle), which is fitted with two thick washers. This is to tip the seat back and away from the side skin.
I used Loctite 243 on the bolts holding the runners to the seats, and left the seat runners in a forward position (rear bolt holes exposed) ready for fitting into the car.
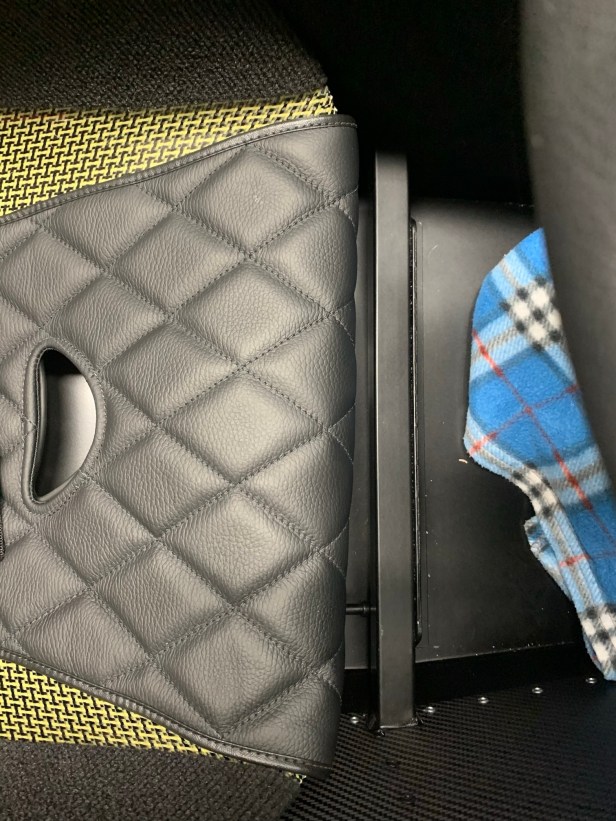
Get the belts ready before installing the seat 
Get the belt and the adjuster through the side hole 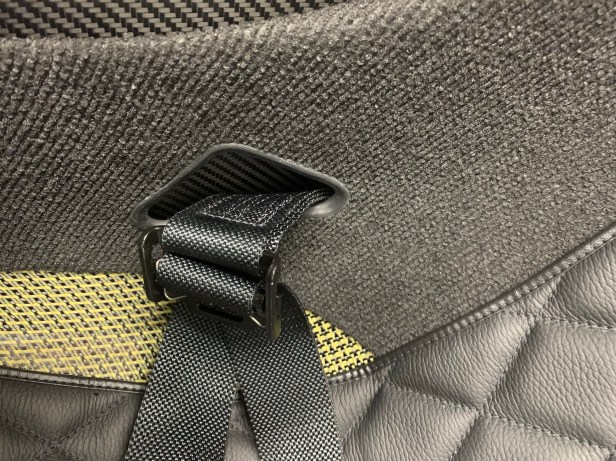
On both sides 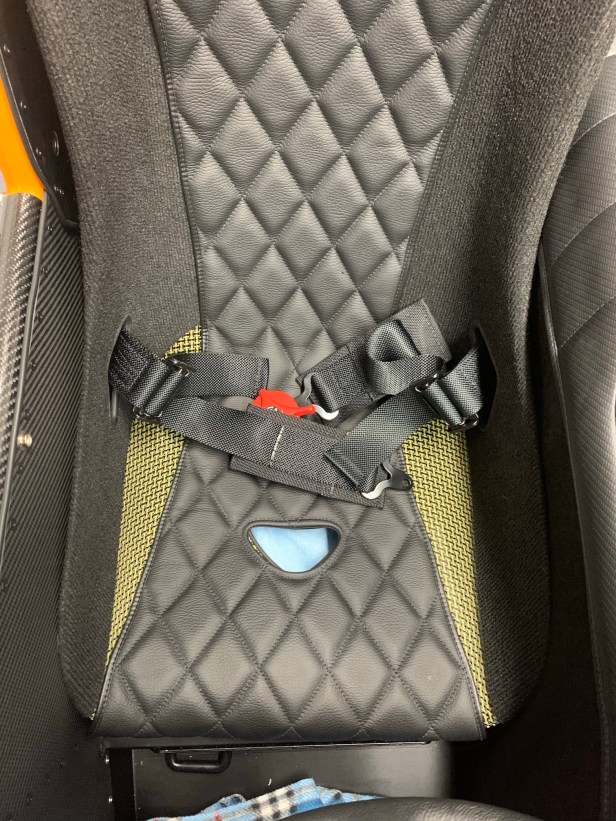
Ready to bolt down
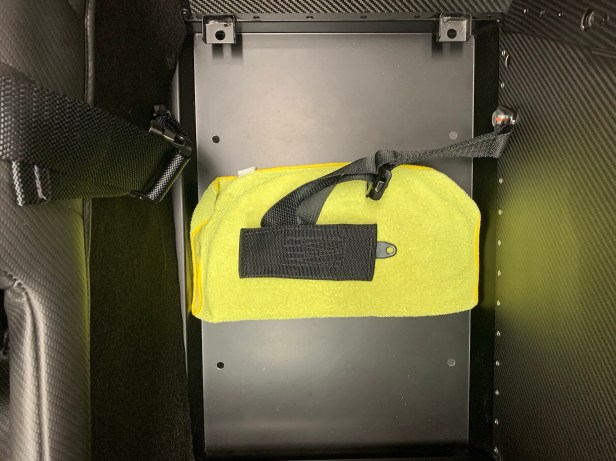
I then positioned the seat belt, one over the tunnel, and the other in easy reach. The seat belts have to be passed through the holes in the seat, as it is lowered into the chassis. I also placed a microfibre on the floor to make sliding the seat and locating the rear bolts easier.

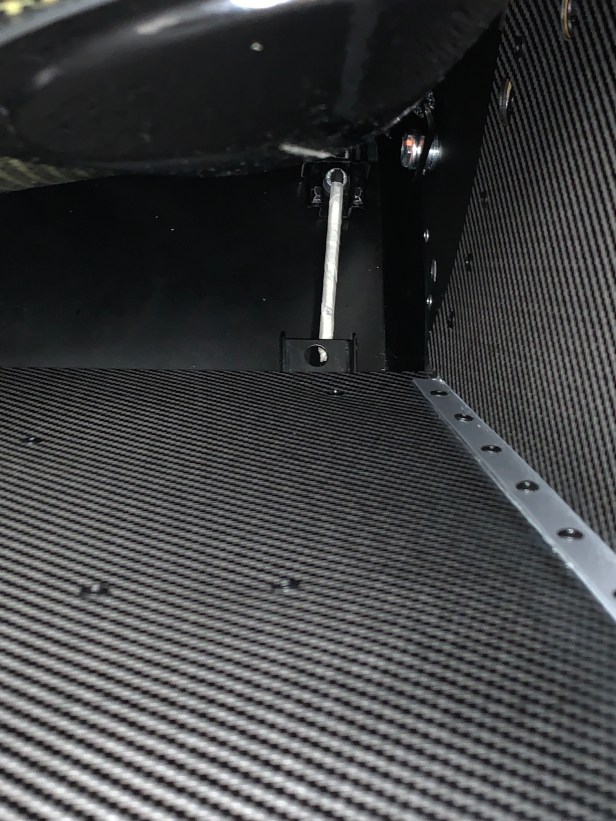
Difficult to see 
Inspection lamp to help locate the holes 
Almost there 
Rear bolt fitting
The rear bolts are located first. I was working at arm’s length and I found it very difficult to align the runner holes with the floor, until I had a (literal) light bulb moment: I used a light to highlight the hole From the other side, making alignment easier.
At this stage I tightened the rear bolts, after removing the microfibre through the seat belt hole in the seat base. I found it best to leave them two or three turns off tight, so there is some wiggle room for the front bolts.
Limited access for the front bolts 
Endoscope so I can see what’s going on 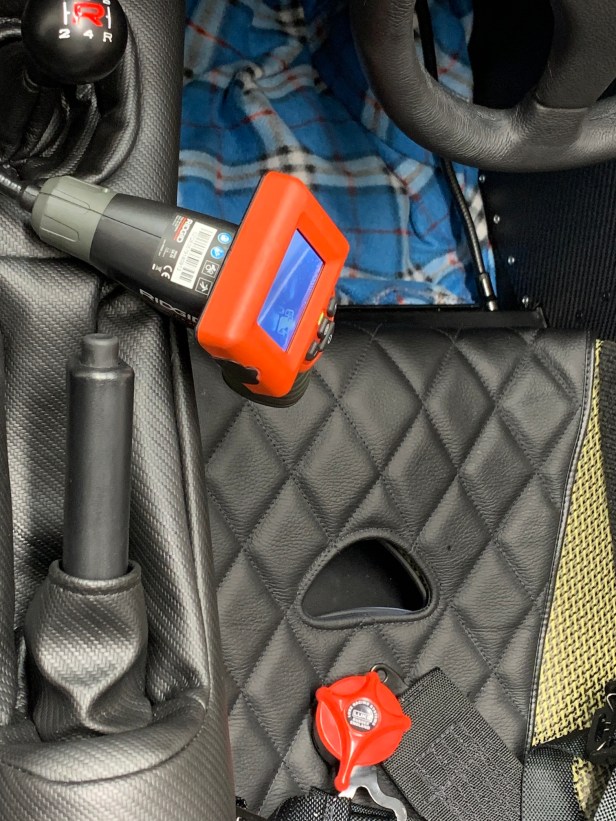
Endoscope from above looking at right-hand side bolt 
Working too get the bolts fitted 
Magnetic pickup retrieving a dropped bolt 
Finally the bolt is installed 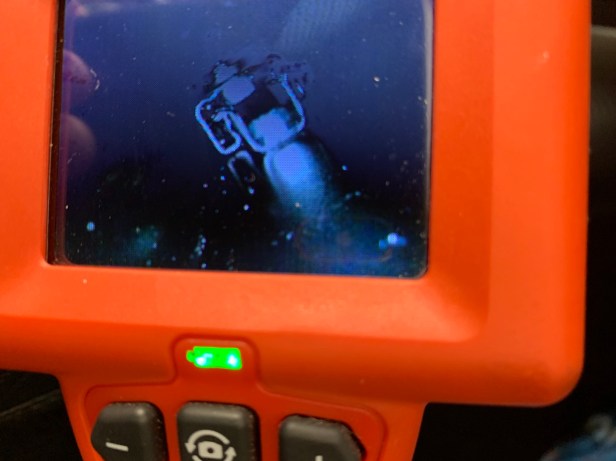
And tightened
I have to say, these front cap head bolts are a pain to fit, and even more of a pain to hold and tighten. I strongly recommend replacing the front bolts with hex head bolts, because they hold themselves in the runner. And if they do slip, then a large flat blade screwdriver can be used (abused) to hold them in place. In fact, if I was fitting the seat again, I would replace all the cap head bolts with hex head bolts.
As you can see, I ended up using an endoscope to try and see what I was doing, and a magnetic pickup tool to pick up the bolts I dropped time and time again, until eventually they were inserted in the correct position and tightened fully.

Ball end hex socket holds the rear bolts as they are tightened 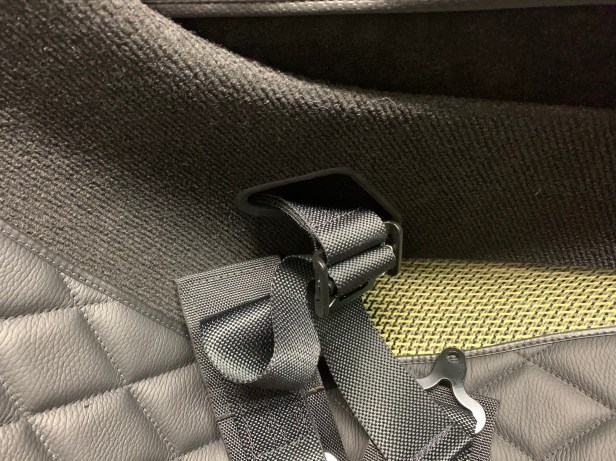
Now there is plenty of seat belt through the hole when the seat is slid back
Now I was able to slide the seat forward again to tighten the rear boltS. I am not 100% sure why, but this time the seat didn’t slide quite as far forward as before. I suspect this is because the front of the seat can’t move and the seat is touching the tunnel carpet at the front. Anyway, this presented the final problem to solve: how to hold the cap head rear bolts now I could no longer fit the Allen key I was using earlier. In the end a 6mm ball-end hex key socket came to the rescue, and I was able to finally tighten the rear bolts..

Tools Used
- 13mm combination spanner
- 6mm stubby Allen key
- 6mm ball end hex socket 1/4” drive
- 6mm hex socket 1/4” drive
- 1/4” drive ratchet
- 13mm 3/8” drive semi deep socket
- 13mm 38” drive socket
- 3/8” drive ratchet

Outtakes
- Attempt 1 – The seat belts where too short, I was unable to feed them through the holes in the seat because the adjuster caught on the seat / runner.
- Attempt 2 – The seat belt buckle prevented the seat from moving far enough back reach the front bolts. Decided to use old manual (2015c) seat belt mounting location
- Attempt 3 – Because I was unable to reach the front bolts, I tried inserting the bolts into the runners before inserting the seat into the car. I was able to locate all the bolts, but the loose bolt heads prevented the seat runners from moving so I was unable to tighten any of the bolts.
- Attempt 4 – Loose rear bolts and hex head front bolts, I was able to fit and tighten the front bolts, but I was unable to slide the seat forward because the handle of the runner wasn’t bent, and would not release the runners. This was the worst scenario because I had loose rear bolts that I couldn’t reach which had been fitted with nyloc nuts. To remove the seat this time, I had to grind slots into the bolts to hold them from underneath so I could remove the nyloc nuts.

This is why I hate caterhams harnesses, the adjustment buckle is now wedged between your hips and the seat..or destroying the ali panel and seat side depending on seat position.
. It would have been better to use “pull-down” adjusters where the buckle is next to the release latch instead of compromising your safety in a crash
LikeLike
Not a fan of the design myself either after struggling for so long getting them installed. But I do find them remarkably comfy. Chris
LikeLike
[420R S3, Q1 2022]. Despite carefully studying this guide and missteps, I still lost count of how many times I put both the driver and passenger seats in and out until they were finally done.
On both sides of the car, the chassis holes did not line up exactly with the runners fitted to my Carbon seats and required a small amount of widening with a drill.
The supplied adjustable runners have threaded inserts which meant the bolts were at least held in the right place whilst I tried to get an Allen key into the cap head. However, the heads of the supplied bolts were too thick to be able to pass each other (which, naturally, I didn’t spot until the seat was in the car first time…) This was relatively easily solved via another trip to my online bolt supplier, but did feel like one of the more obvious ones that Caterham should have spotted.
LikeLike
My late 22 kit came with carbon seats & nuts pre welded into the runners for driver & passenger which made bolting them to the floor a doddle. Each seat came with 8 thick plastic Tillet spacers pt of which I only used one at each mount point so the runners didn’t foul on the bit your bum goes! Caterham said you can use 2 thick on the outside rails to lean the seat inward if it’s too tight to the side panel but this wasn’t necessary in my case. The caphead bolts which bolt the runners to the base of the seat need to be fitted without washers on the drivers side otherwise they will jam the runner. I didn’t need to bend the adjusting arm even with the lowered floor so perhaps they have modified this.
I am almost finished my 420 build have found your blog extremely helpful & the most accurate by some distance – it has become my go to resource so a big thanks to you for putting this online Chris
LikeLike