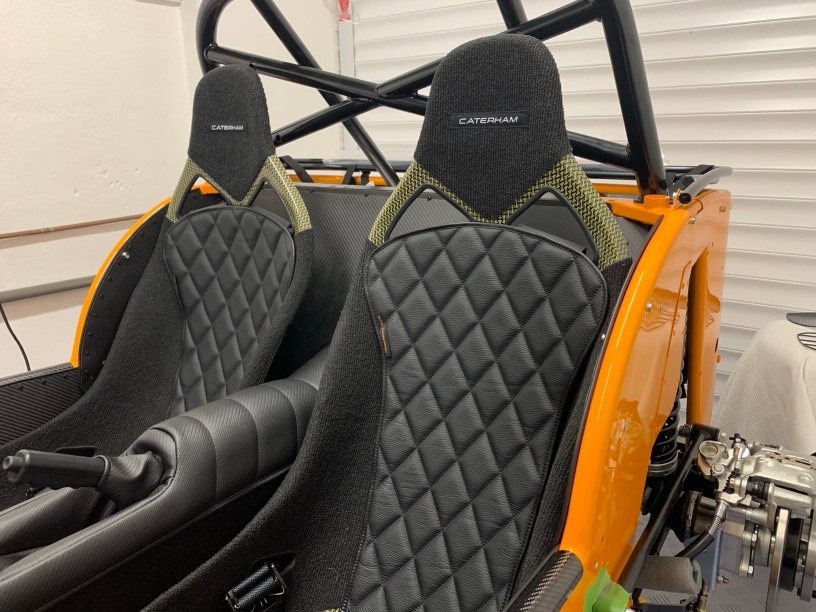
After the driver seat fitting, I thought lightning couldn’t strike twice and the passenger seat can’t be that bad! Well, it wasn’t as straight forward as I was expecting.

I started by bolting the fixed runners to the seat, and fitted the new manual (v1.2 and v2.0) recommended spacers, as per the driver seat, the front left-hand corner had two thick spacers, and the rest had a thick and thin washer.
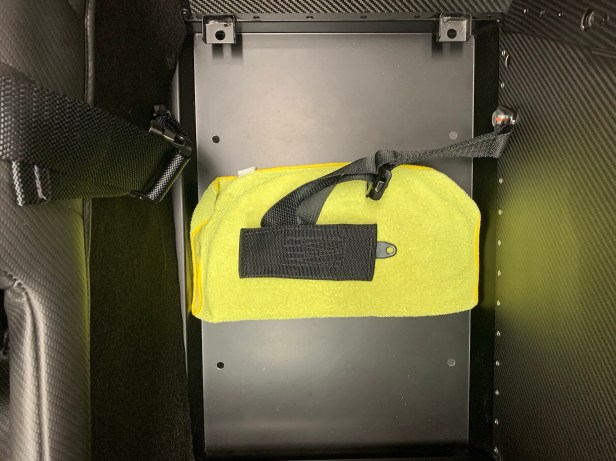
Microfibre and belts ready for seat 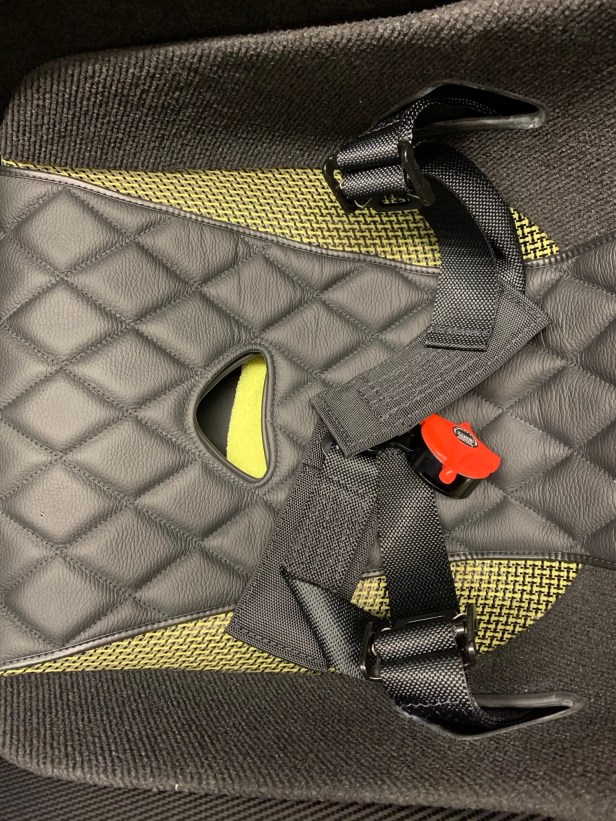
Seat fitted, remove the microfibre once the bolts are located
I put a microfibre under the seat as I lower it into the chassis, so I can move it easier while locating the bolts through the floor into the captive nuts in the fixed runners. It’s important to have the seat belts prepared before you lift the seat in, especially if you are doing this job on your own, because getting the belts through the holes in the seat as it’s being lowered in can be a pain.
As you would expect by now, to locate the holes I used my selection of pin punches.
I needed to enlarge one of the bolt holes to get all the bolts to fit, it was only a tiny bit, more like deburring than enlarging the drilled holes in the floor pan.
An now the fun started: as the seat runner bolts where pulled tight, the seat started to press on the side panel. Obviously the spacers weren’t correcting the position properly, so I had to remove the seat and refit it several times, trying different spacer locations to resolve the problem.
I ended up with two tick and one thin under the front left-hand side runner, one thin and one thick under the rear left-hand side runner, and one thin front and back on the right-hand side runner.

Tools Used
- Round file
- 6mm 1/4” drive hex socket
- 1/4” drive extension
- 1/4” drive ratchet
- 3/8” drive ratchet
- 1/4” drive to 3/8” drive adapter
- Selection of pin punches

A comment on fitting the passenger race seat in an S3. The information on Page 171 of the current (2021) Assembly Guide is not correct.
There are two different areas to consider. Firstly, Floor to rivnut in Fixed Spacer Rail.
All fixings are Bolt MB; Spring washer MC; Plain washer MD; Floor of Car; Rivnut in Spacer. Ignore the drawing for these fittings.
The second area to consider is the Fixed Spacer Rail to Seat. All bolts are MA and have a spring washer MC and plain washer ME before the Fixed Spacer Rail. The main confusion then arises in the use of the thick and thin spacer discs between the Fixed Spacer Rail and the Seat. For the Right Hand Front corner of the Passenger seat the diagram shows two MF (thin) spacer discs between the Seat and the Fixed Spacer. This is wrong. Two of the thick MG spacer discs are the correct fitting for the Front Right corner of the Passenger seat. All other corners have one thick MG and one thin MF spacers. In this respect the layout is the same as the driver’s seat
According to Caterham there is a stepped section in the right front corner of both seats, which is designed to accommodate an adjuster runner handle. This larger gap will therefore need to be taken up by fitting the thicker spacer discs.
LikeLike