
The catch tank is mounted on the left-hand-side above the shock absorber. It is not covered at all by the new manual (v1.2), therefore the only reference to the procedure I have was in the old manual (2015c).
UPDATE – The v2.0 manual does cover the hose installation, but not the catch tank installation.
Fitting the bracket involves drilling out one rivet and drilling one new hole.
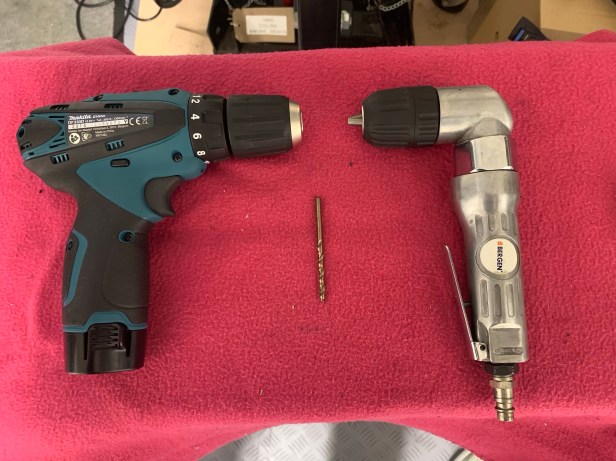
Drill choice 
Electric drill won’t fit 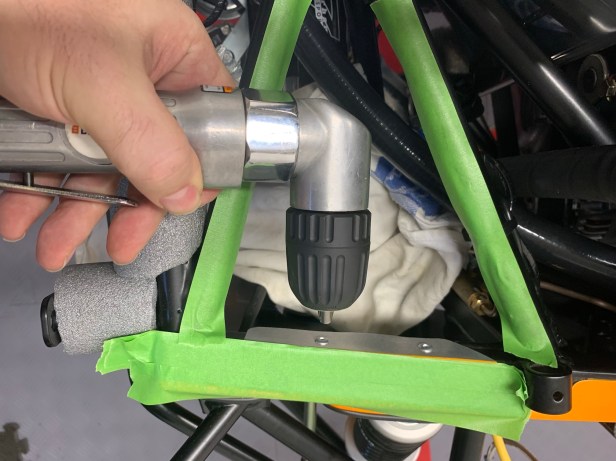
Air drill used
The problem is, that even my smallest electric drill just doesn’t fit within the chassis rails, so it seemed like a good time to break out the air drill. When doing jobs like this, I alway use new drill bits; the risk of broken bits and damage to the delicate skin of the car is just too high. I should know, because I have been there in the past.

Drill out the front rivet 
Mark the second hole 
Both holes drilled
Once I removed the front rivet, I used the catch tank bracket to mark the and drill the second hole. I took the opportunity to touch the paint up after drilling the holes with POR15 chassis paint and to fill the chassis tube with ACF50 anti rust oil.
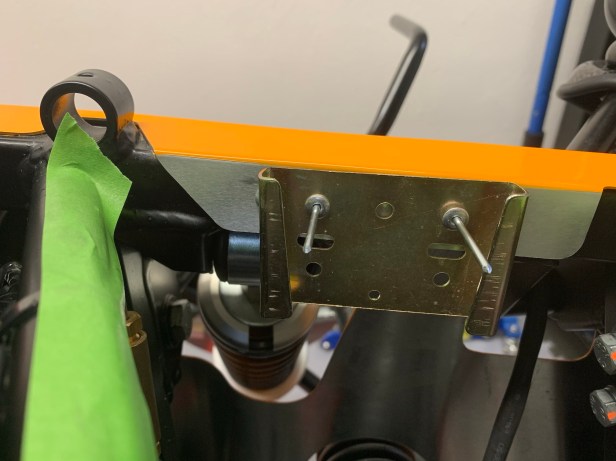
Bracket ready to rivet 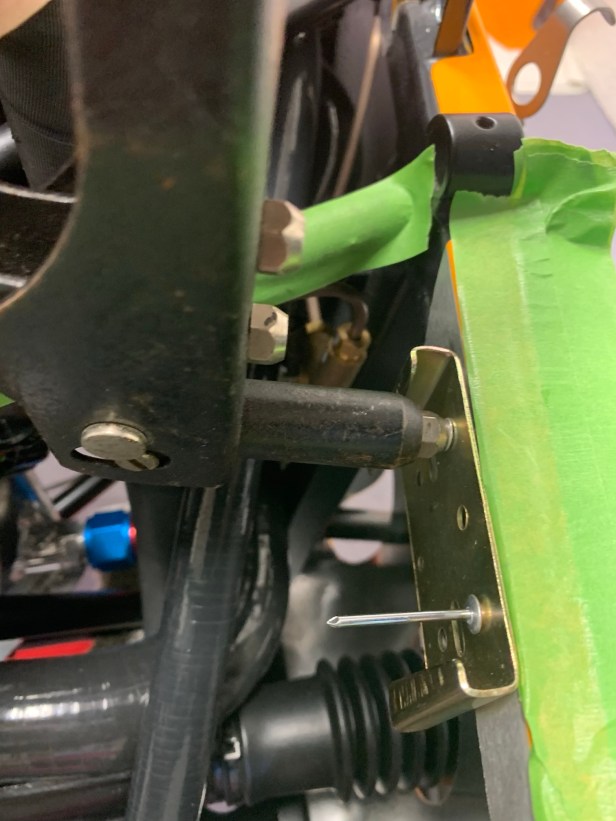
Manual riveter used 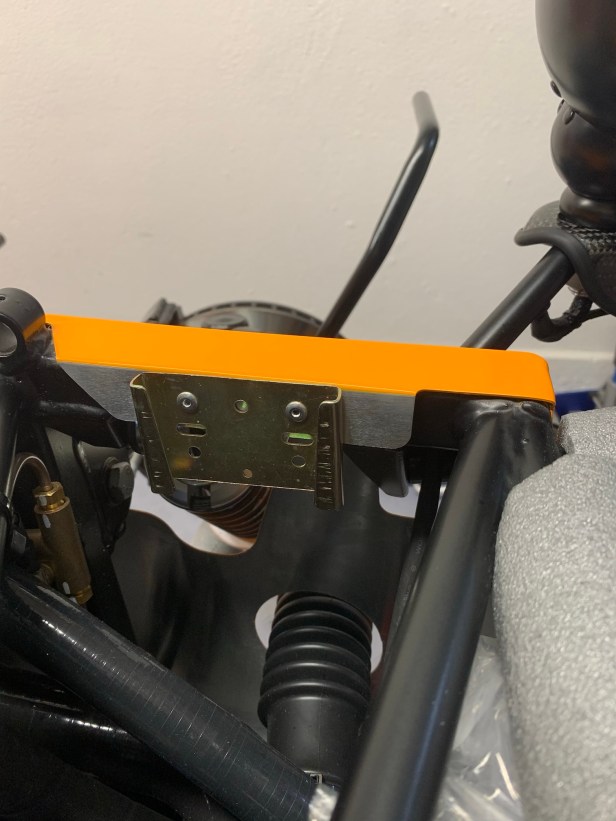
Bracket fitted
I could not get my air pop riveter in the space between the chassis tubes, so I used the manual pop rivet tool. Just make sure you get the bracket the right way up. In the photo, it looks like I left green masking tape behind the bracket, but actually it’s just a reflection.
When I visited the Caterham Cars factory, I observed the location used for the breather from the dry sump tank going to the catch tank. Caterham route the breather into the front corner, so that’s what I did.
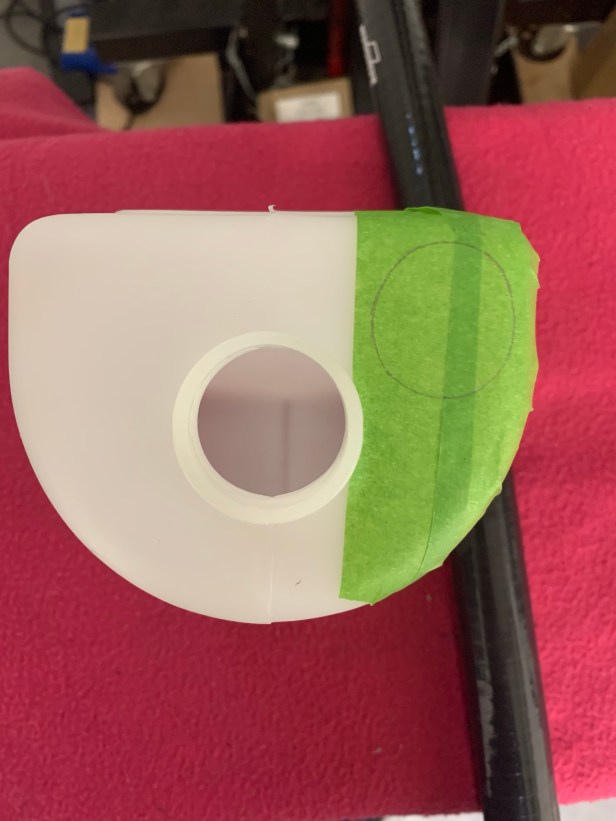
Mark the hole to drill 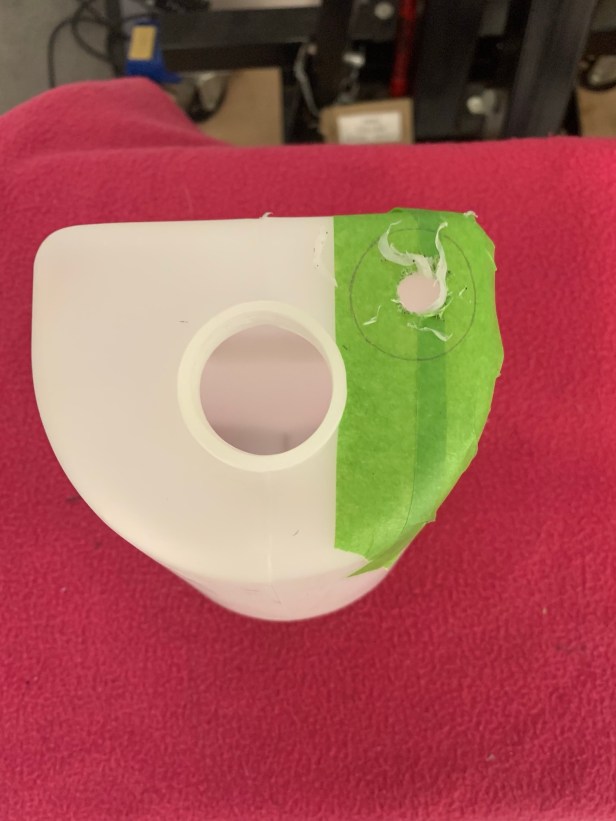
Drilled as large as I can 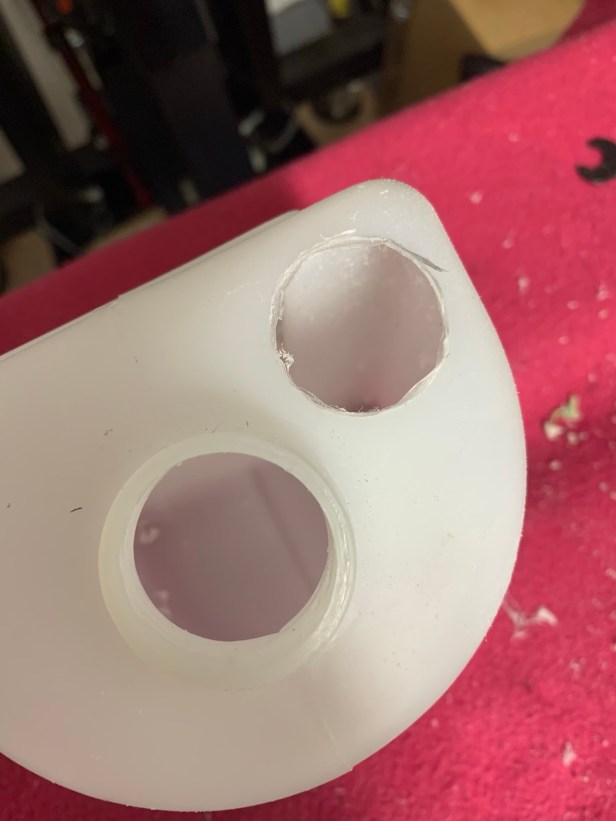
Dremel finished the job 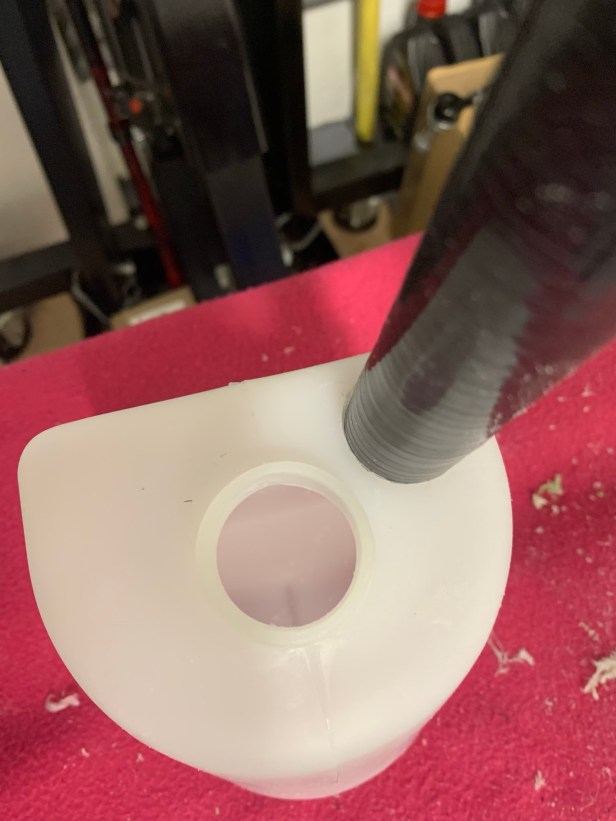
Breather hose fitted
I started by marking the location I wanted for the hose to enter the catch tank, then I drilled the tank with larger and larger drills until I could fit my Dremel. The Dremel finished the job opening out the hole until the silicon hose was a tight fit without distortion.

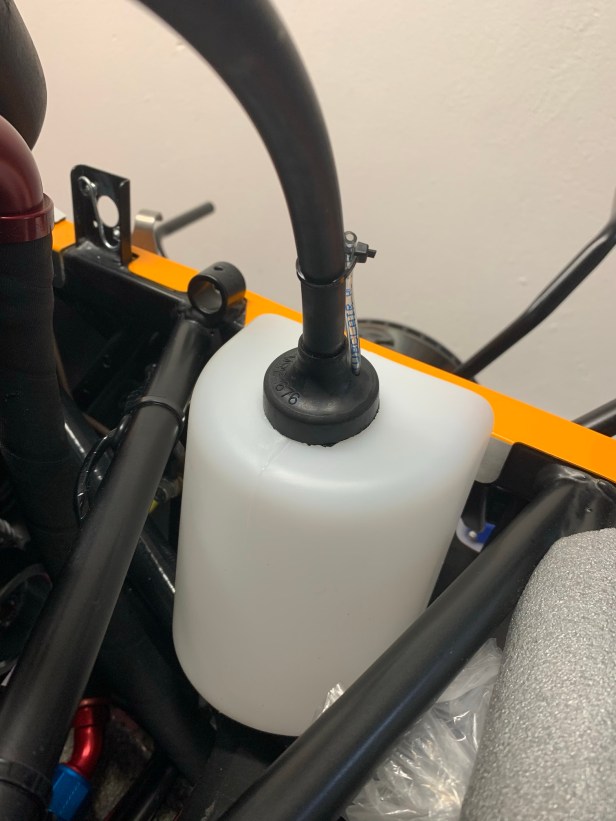
Breather hose fitted to dry sump tank 
Catch tank fitted
I re-fitted catch tank and connected the silicone hose to the dry sump tank, making sure the hose doesn’t touch the bottom of the catch tank i.e. blocking the breather. Lastly I removed the small clear tube and routed the catch tank cap hose, as observed at the Caterham factory.
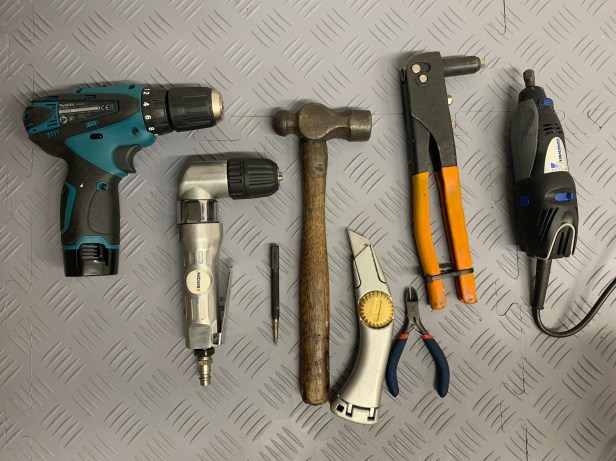
Tools Used
- Air drill
- Electric drill
- Centre punch
- Hammer
- Knife
- Side cutters
- Pop riveter
- Dremel

This is fantastic, thanks for sharing. Quick question, how did you route the catch tank cap hose? I can’t find anything online, so would be great to see how you did it, and how they do it in the factory!
LikeLike
Just run the breather cap hose down the chassis tube next to the tank. Try and get is as low as possible, but without kinking it. Remember you’re going to need to remove the cap to empty the tank come service time, or if you over fill the dry sump tank.
LikeLike