
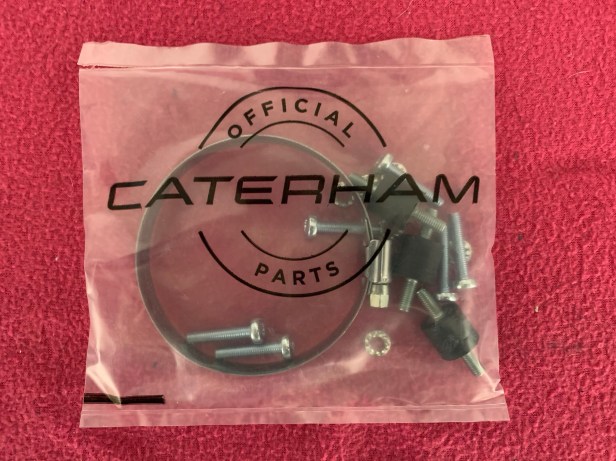
I should have had all the fittings in an “unmarked” bag, unfortunately, I had only some of the fittings. Therefore the photos will show washers which I will replace, hence the lid airbox isn’t tight on the body yet.
The airbox body is mounted with three small bobbins. I started by fitting the bobbins and the body of the airbox onto the chassis first. I would advise fitting the seal first before fitting the airbox to the chassis, as I did.

Bobbins fitted 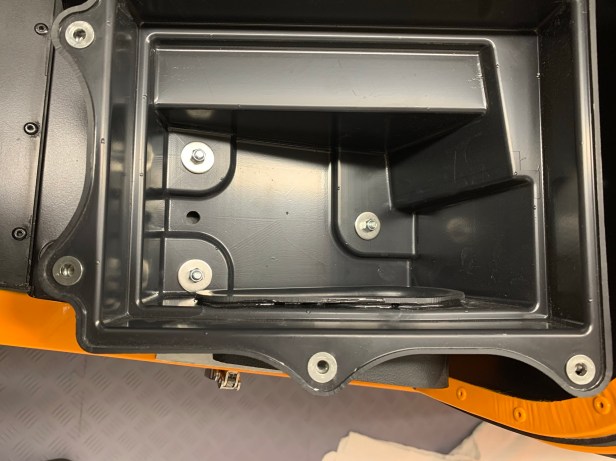
Airbox base fitted 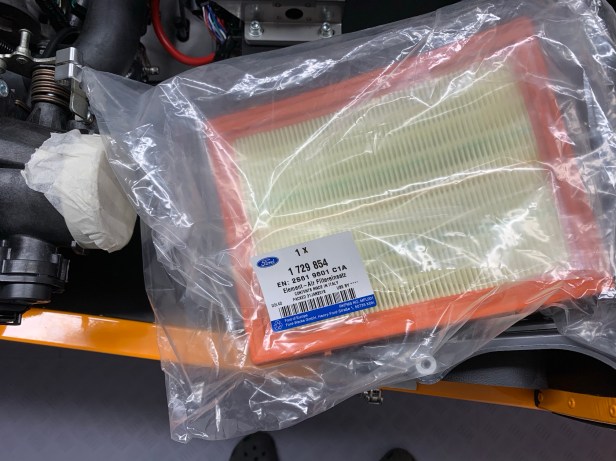
Ford air filter
The filter is a paper-style filter from a Ford Ford Fiesta. What is strange the Ford Fiesta K&N replacement panel filter isn’t used by Caterham when they fit a K&N style unit. I won’t be making any changes to the stock specification until IVA is passed, but I will replace this filter at the first service to a K&N alternative.
Hose fitted to airbox lid 
Airbox lid before securing to the base 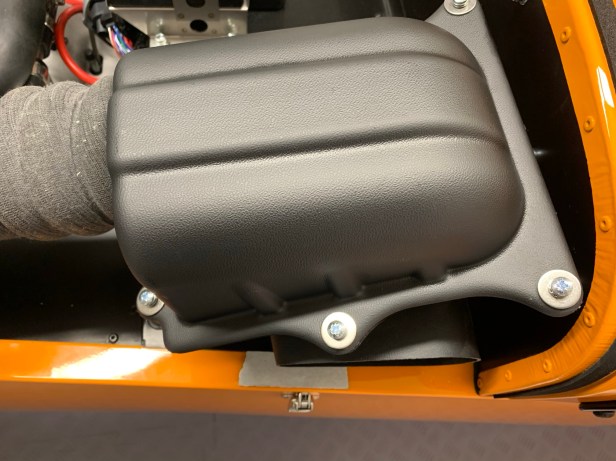
Airbox lid secured
The hose to the throttle body is just a push fit into the lid of the airbox, and the hose is held in place with a hose clap. Note, the lid needs to be moved into position over the airbox before fitting the screws.
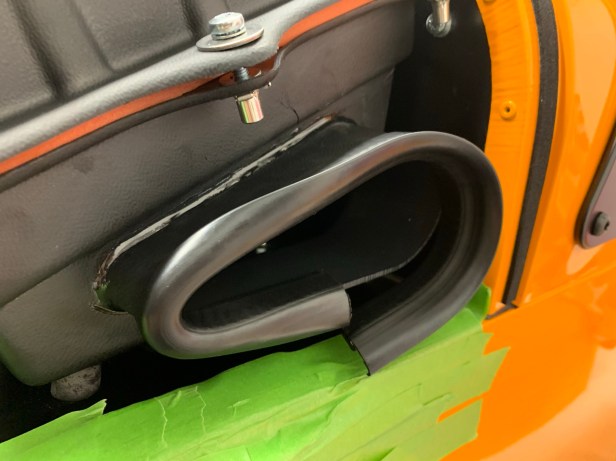
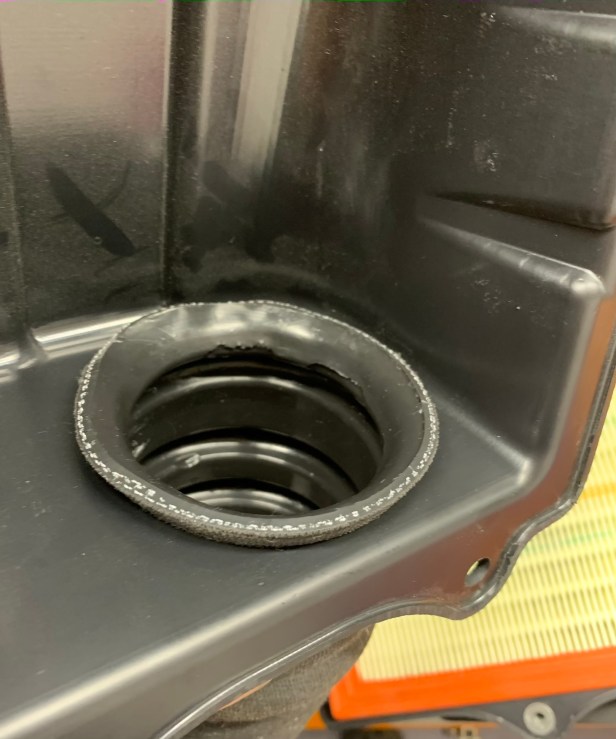
Fitting airbox seal 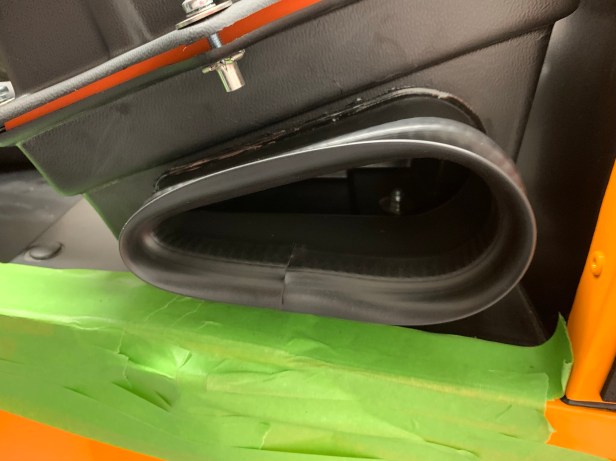
Seal fitted
The seal to the bonnet needs to be cut to size. I used a Dremel for this. It’s difficult to push this trim onto the airbox inlet, especially around the sharp bend. I kept removing the seal to a open it up with a plastic trim lever to make fitting easier. It would have been wiser to fit this seal before fitting the airbox to the chassis. Be careful – it’s only plastic.
UPDATE – I have now fitted some more appropriate washers to the airbox lid and the lid has been tightened.

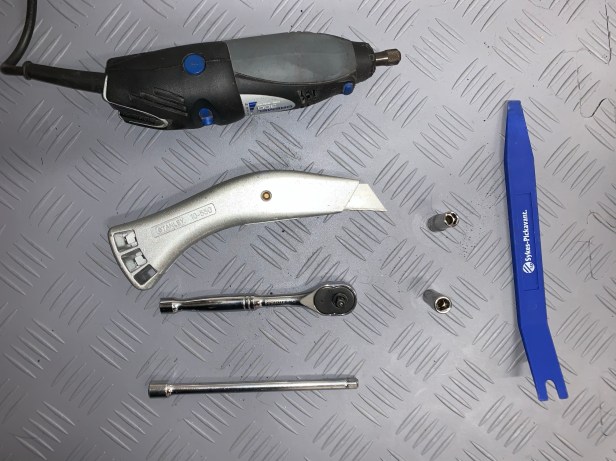
Tools Used
- Dremel
- Knife
- 7mm 1/4” drive socket
- 8mm 1/4” drive socket
- 1/4” drive ratchet
- 1/4” drive extension
- Plastic trim lever
- Philips screwdriver
