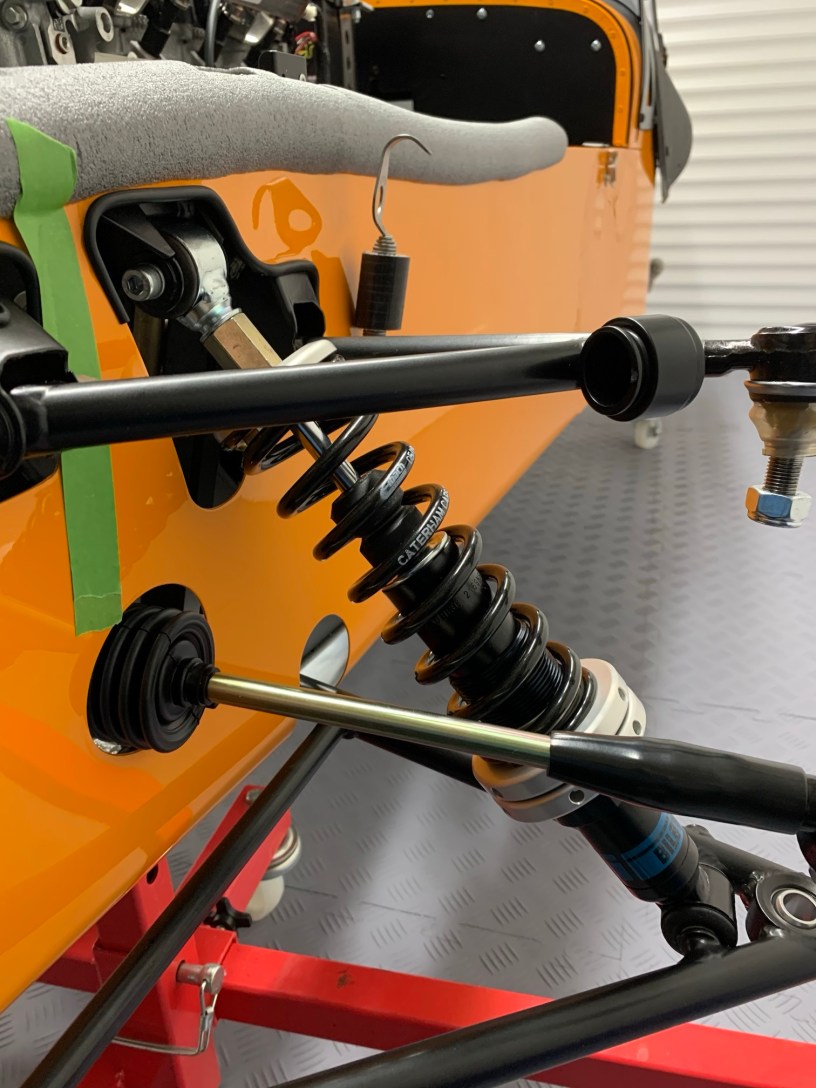
Normally I start by checking bolts fit before I install components, but the front dampers are different. The bolts are already installed in the chassis and lower wishbone, therefore start the process by removing the front damper mounting bolts. This may be more difficult than it looks, because the mounting bolt in the chassis can touch the inside side skin as it’s removed, therefore I recommend a bit more masking tape to protect the panel (even on the inside). My chassis needed a firm press on the inside of the side skin with my thumb to remove the bolt.
Before starting to fit the damper, prepare the bolts, inserts and tools needed and keep them at arm’s length if you are working alone; once you start you want to hold the damper or it will touch the side skin.

Copper grease the insert 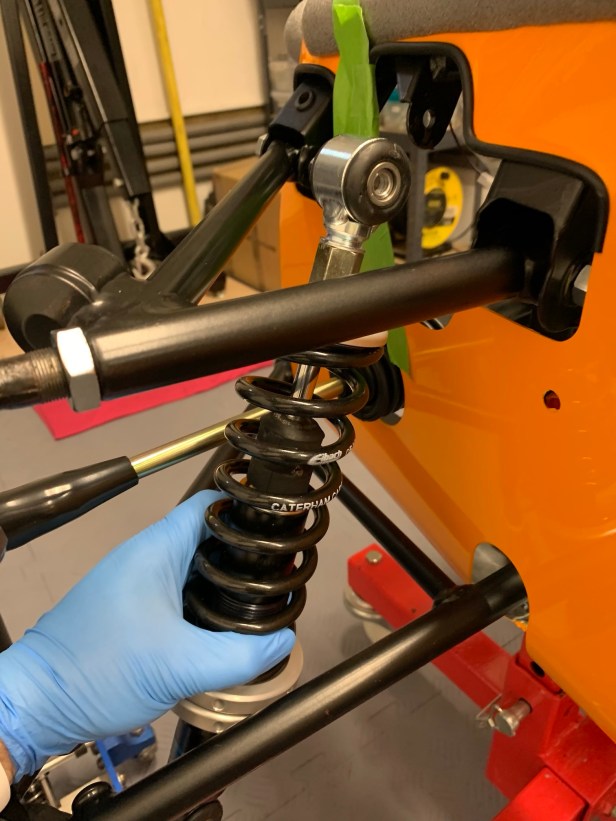
Install through the wishbone
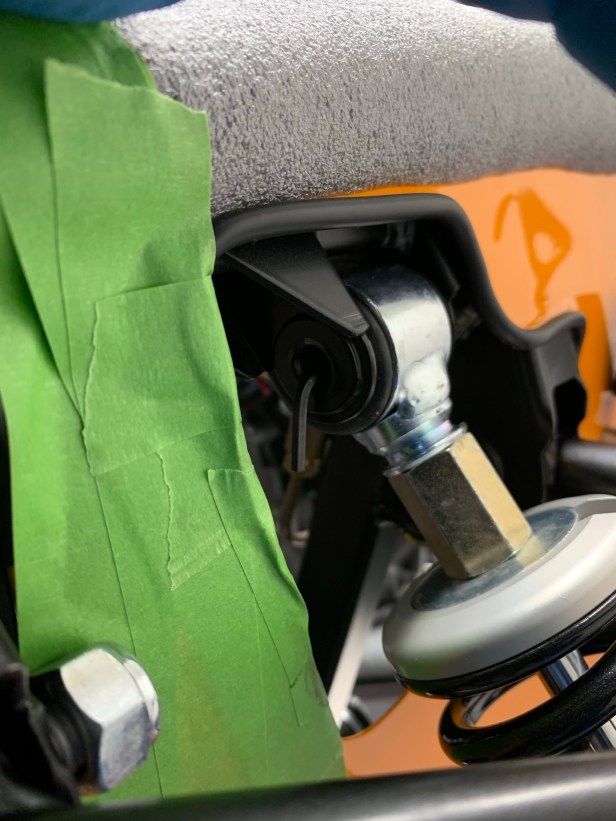
Apply some copper grease and insert the inserts into the damper bushes. Insert the damper up from below, through the lower wishbone, and tilt it into the correct position. I find fitting the lower mounting bolt easier, so I can then concentrate on the more difficult upper mounting bolt; don’t forget a bit of copper grease. Make sure you don’t forget the shake-proof washer on the upper mounting bolt. Fitting the upper mounting bolt is tricky. I aligned the hole in the chassis and damper by eye and a small Allen key, there isn’t much room for a pin punch. Make sure, the shake-proof washer doesn’t get caught between the bolt and the side skin. Pushing the bolt into the mounting / damper is a combination of pushing the bolt and pushing the side skin.
Allen key holding the damper 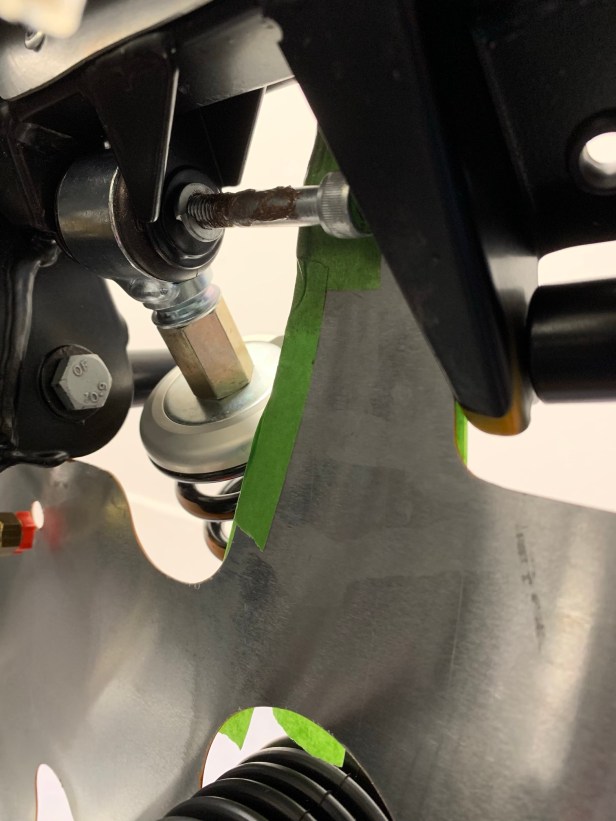
Locate the upper bolt 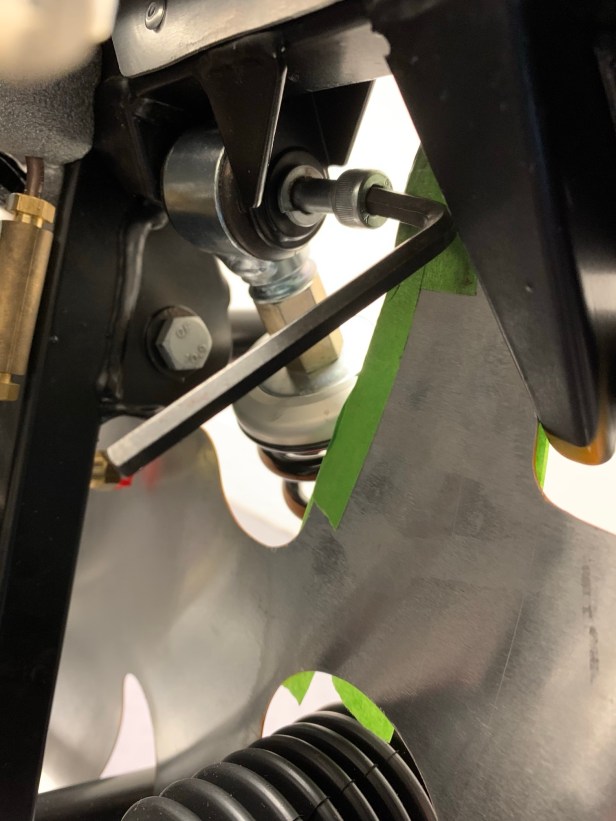
Tighten with an Allen key at first
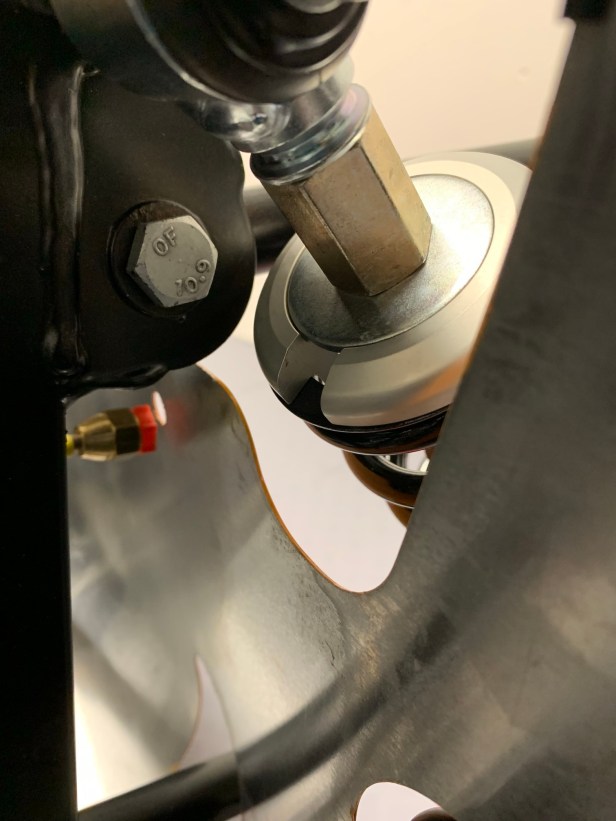
To tighten the top bolt I used a small Allen key, until I could use my ratchet 6mm hex bit in my ratchet spanner. There is much more space to tighten the lower mounting bolt. Tightening the lower bolts to 25Nm is easy, but I am not going to be able to get any of my torque wrenches on the upper mounting bolt. This will have to be just done by feel.
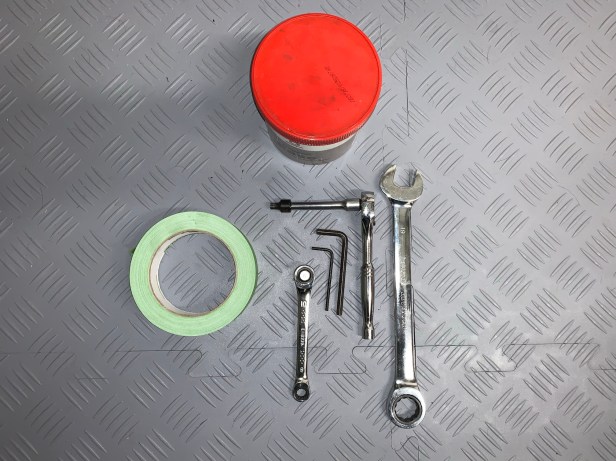
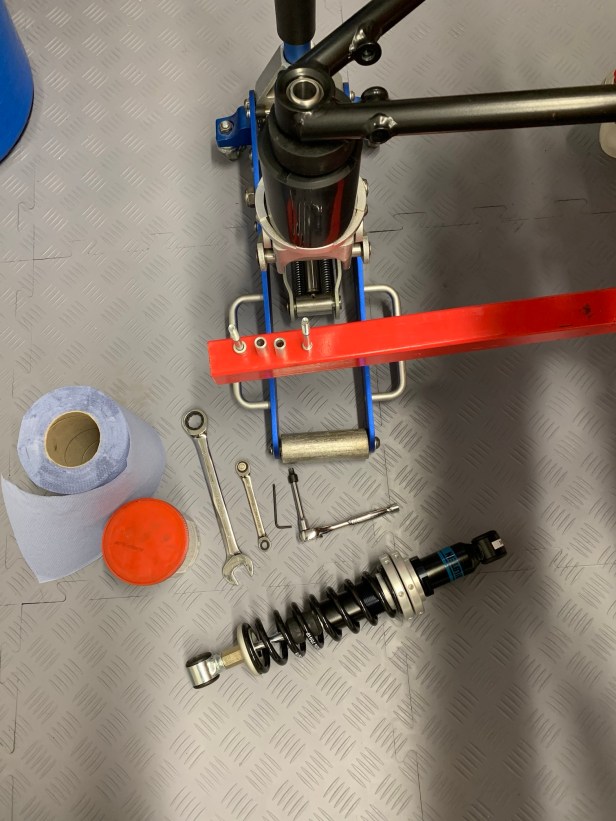
Tools Used
- 19mm Spanner (just in case the damper needs a wiggle – mine didn’t)
- 6mm hex 1/4″ socket
- 1/4″ Extension
- 1/4″ Ratchet
- 6mm Allen key
- 3mm Allen key
- 6mm hex bit
- Ratchet ring spanner for 6mm hex bit
- Masting tape

Hi Chris,
the lower damper bolt doesn’t appear to have any locking features, I can’t see a split washer or loctite specified. Have I missed something or is this how it’s built.
Thanks
LikeLiked by 1 person
No you haven’t missed anything, nothing is applied. In fact that bolt often over time becomes stuck, and I have even seen owners cut the wishbone to save the damper so be liberal with the anti seize copper slip.
LikeLike
Thanks for the rapid and concise reply Chris (and your extensive knowledge), I’ll certainly take your advise.
Best Regards
Chris
LikeLiked by 1 person