
When I inspected the kit supplied carpets, I was surprised to find only a boot floor carpet, which wasn’t what I was expecting. My 360R came with a full boot carpet, and I had assumed my new kit would have the same. Now, this is my fault for not confirming what was meant by “Full Carpet” on the order sheet, an option I didn’t select. What I actually wanted was the standard carpet and some of the boot carpet pieces, and the “Full Carpet” option would have been a waste. At the time of writing, Caterham only provide carpet kits, and purchasing a whole kit would also mean I receive unwanted pieces of carpet. I therefore contacted the manufacturer Oxted Trimming (https://www.oxtedtrimming.co.uk), who provided me with the individual carpet pieces I wanted.

Trimming required 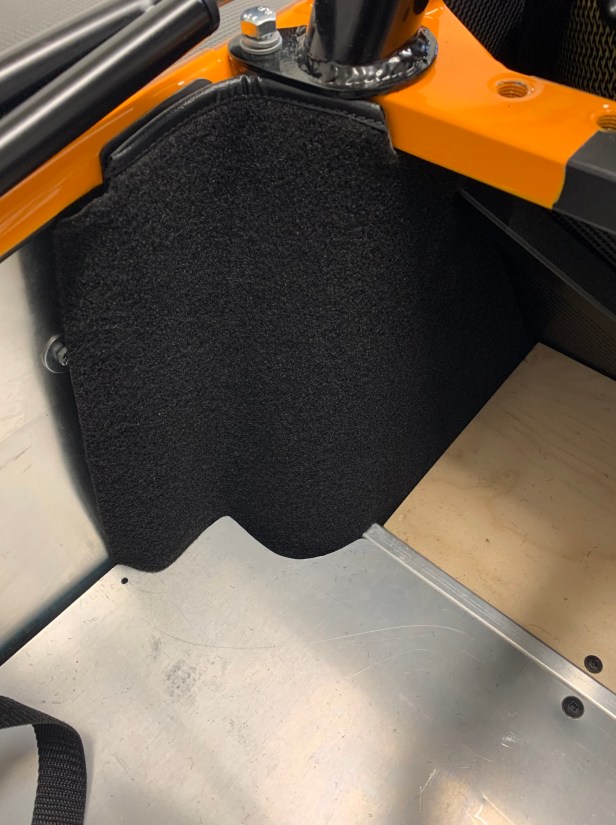
Ready for glue
I am not fitting carpet to the front of the boot covering my carbon fibre interior panels, but if you are, there is a selection of triangles to stick first. It is a bit of a jigsaw puzzle, but I remember it as a simple gluing exercise.
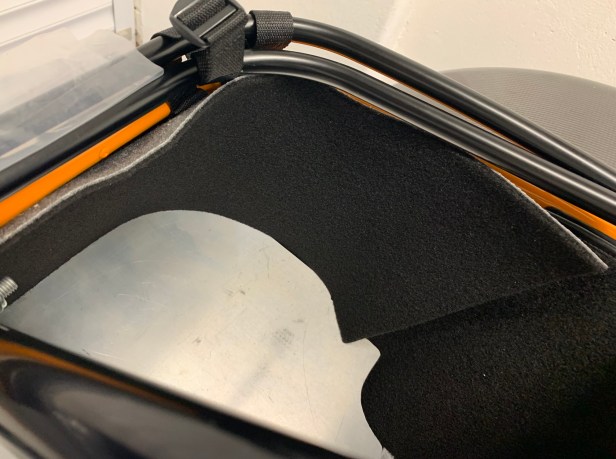
The first carpet part I am fitting is the section that covers the rear shock panel. This isn’t a straight forward panel to fit carpet to, because it bends around two curves. This carpet panel needed a little trimming to get the fit I wanted. The main part I wanted to line up was the stitched edge at the top, as it curves under the roll bar.

MaskEd for glue 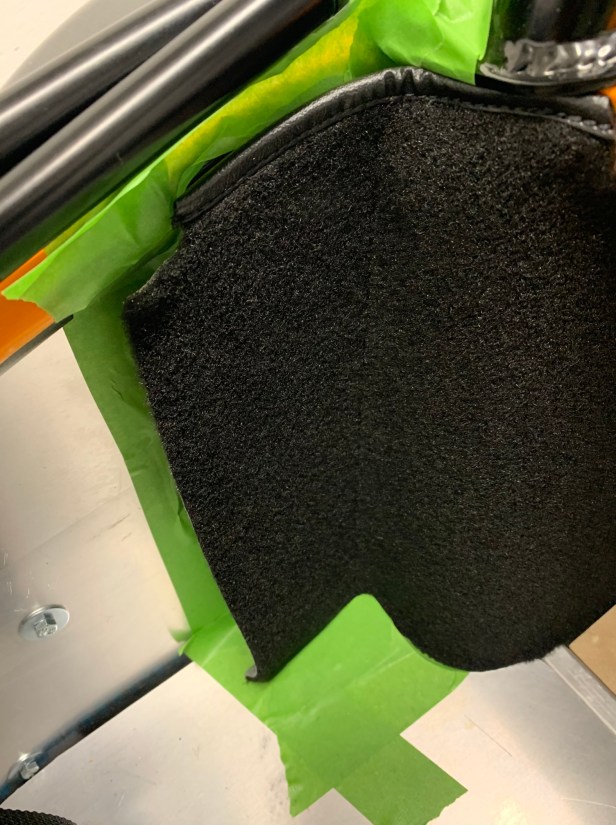
Only glue one curve at a time 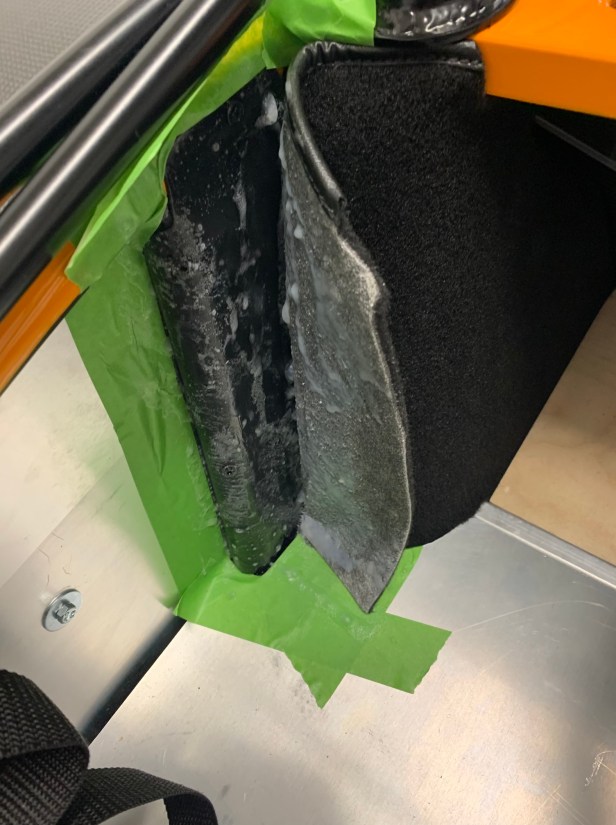
Glue applied 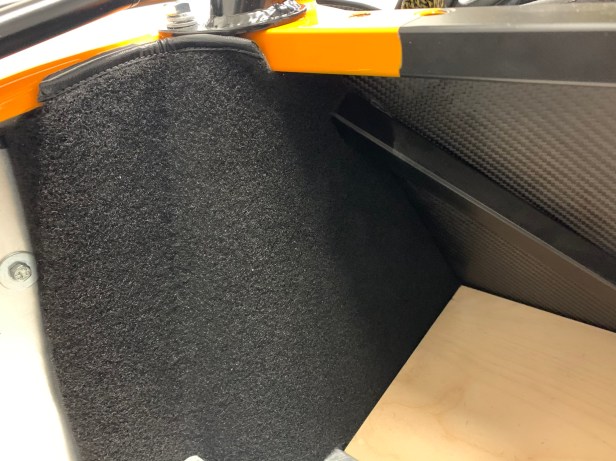
Panel fitted
The double-curve meant I had to stick one section, leave it to dry and then stick the second section. I use masking tape and the same spray glue as I used for the Tunnel Carpet, and once again – if glue went where I didn’t want it to, glue remover could always be used. Once the fist section was dry, fitting the carpet around the second curve was a simple task.
A lot of trimming required 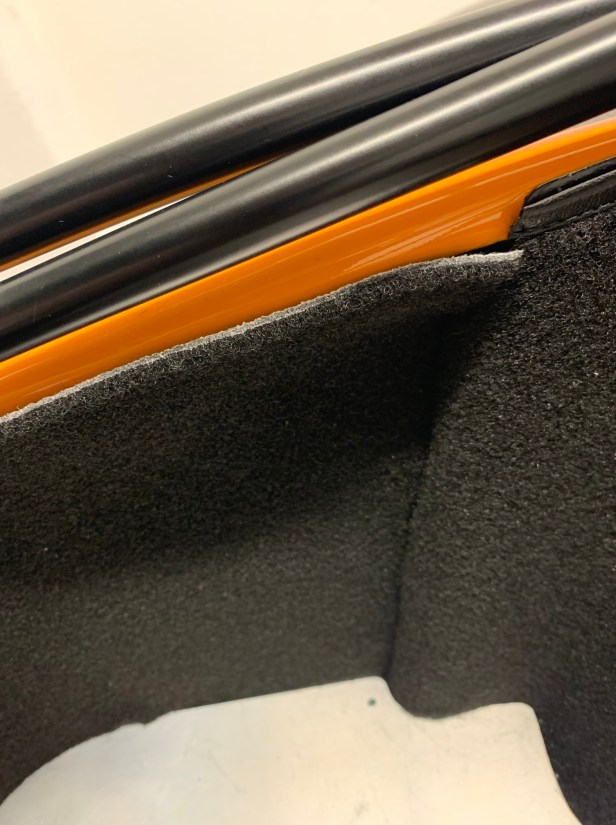
Nearly there 
Carpet panel compared, pre and post trimming 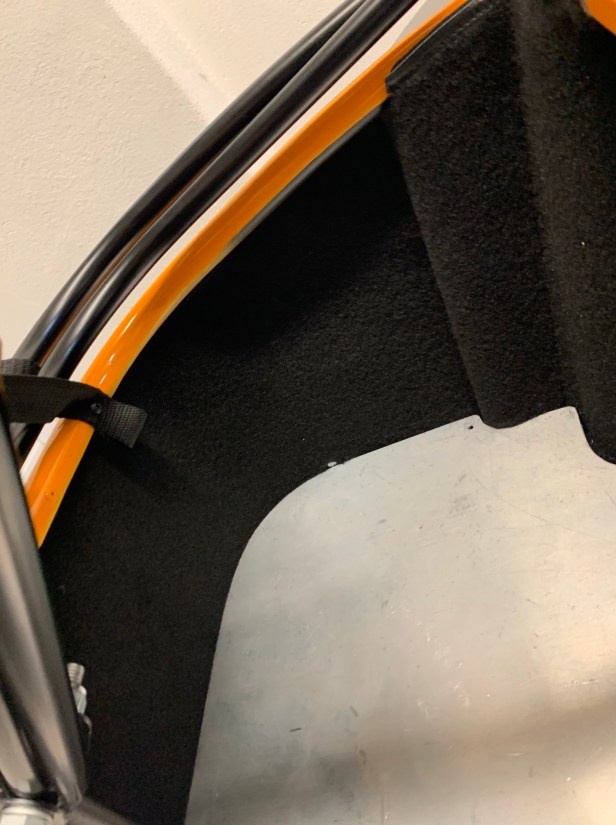
Left-hand side rear carpet panel fitted
The rear curved panel took a fair bit of trimming to get the fit. You can see from the photo I removed nearly two centimetres from the bottom edge for the carpet to fit. I did not apply spray glue to all of the carpet panels, because I needed to be able to lift the corner where the rear wing bolts are located. That corner is only tucked into the aluminium floor and held by the carpet glued to the rear shock absorber panel.
Right-hand side rear carpet panel trimmed 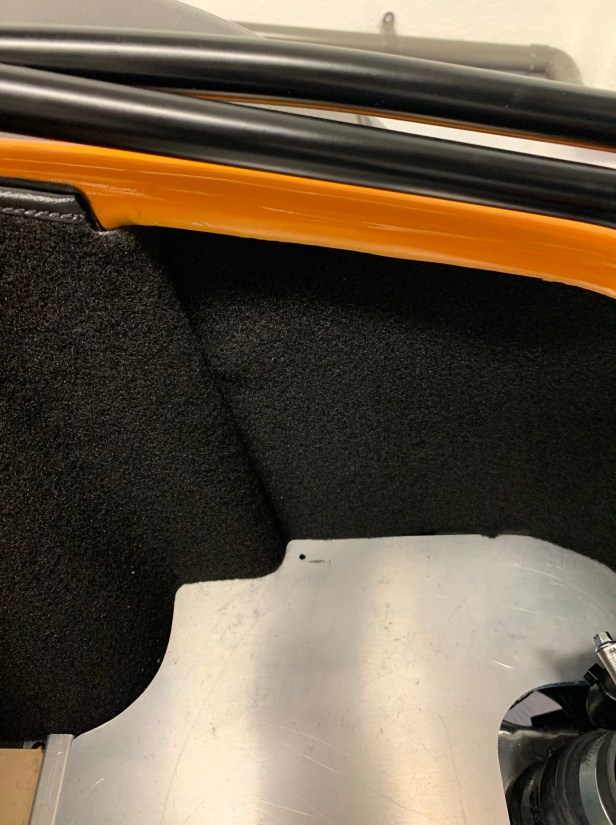
Fitted, but needs washer bottle
mounting holes
Fixings marked 
Holes cut with punch tool
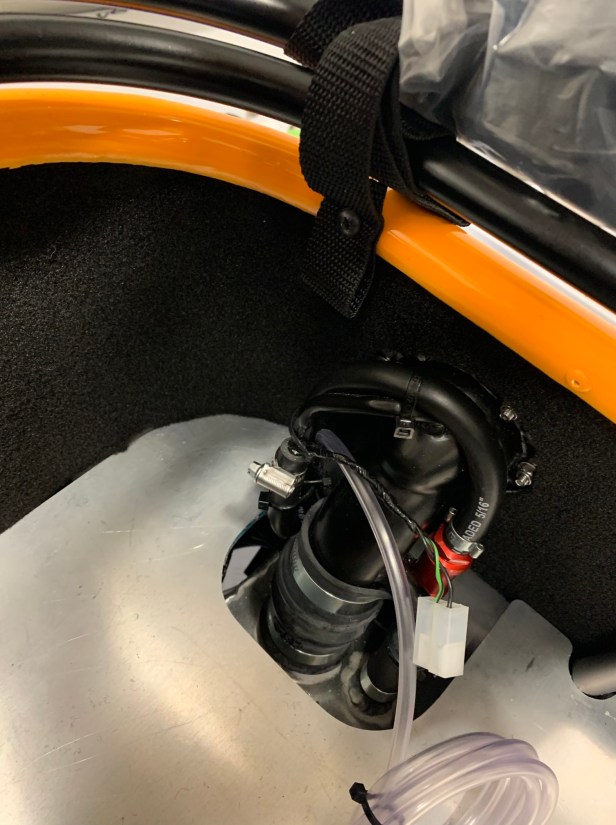
The carpet behind the fuel filler, although needing as much trimming as the other side, didn’t need any glue, because it’s going to be held with the fuel filler cover and the washer bottle. I did however mark and punch out holes in the carpet for the rear wing fixings, because I am using them for the washer bottle.

Back carpet panel 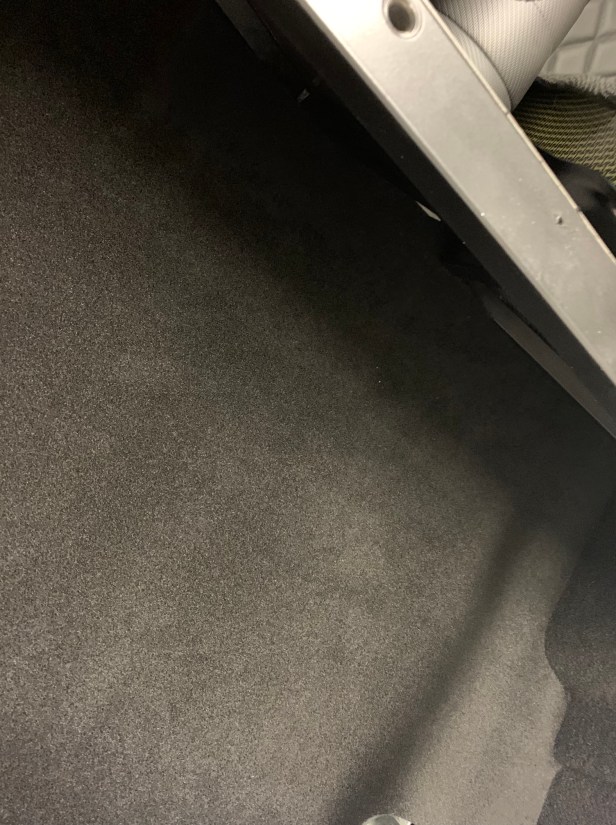
Boot floor carpet
I didn’t need to trim the back boot carpet panel, just spray and glue. The boot floor carpet didn’t need any trimming either, but I decided to only glue it to the wooden section of the boot floor, to make removal easier in the future.

Tools Used
- Scissors
- Hole punch
- Hammer
- Knife
