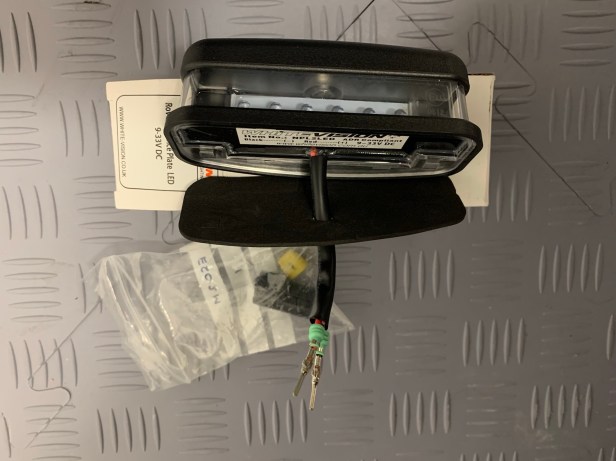
The number plate light I was supplied in my kit didn’t have any form of connector to connect it to the wiring loom. It has also been updated from the number plate light that was supplied with my 360R: it’s now a LED unit and the wiring has changed.
I was aware of the change, so I took a picture of the wiring while I was at the factory. Personally I am not a fan of the pre-insulated crimp connectors, so I wanted to use a connector already used for the majority of connection on the Caterham, an Econoseal.
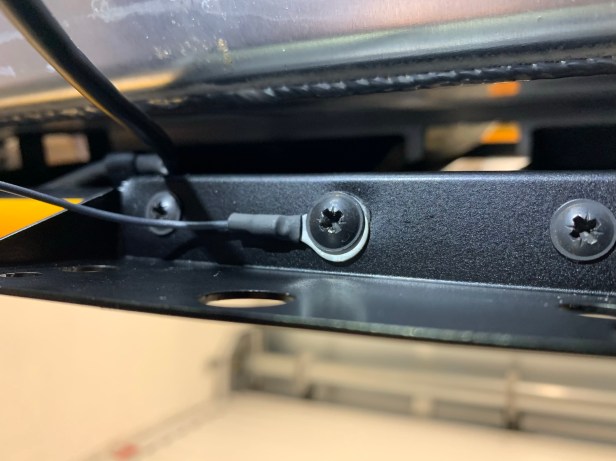
Earth Strap 
Econoseal connected to the earth 
Note the P clip
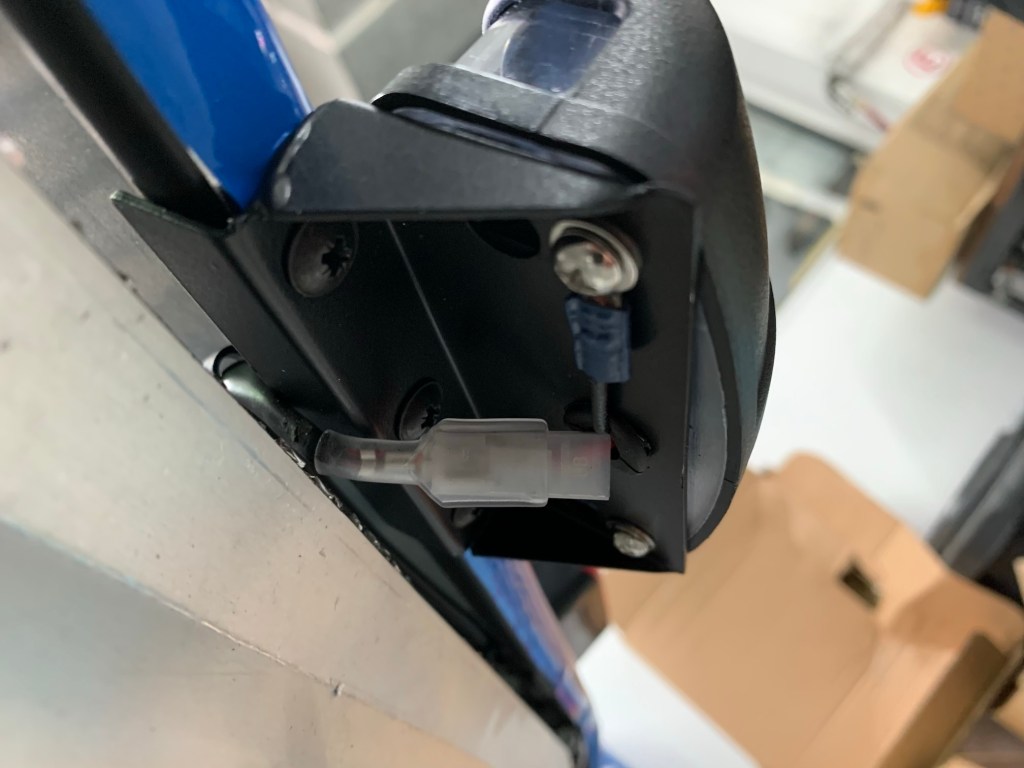
I started by creating an earth lead from the centre self tapping screw, and then I cut the number plate wire and crimped the Econoseal onto the chassis wires. Note that I added a P clip to the centre self tapping screw to hold the Econoseal connector with a tie wrap.
Econoseal connectors added to the number plate light 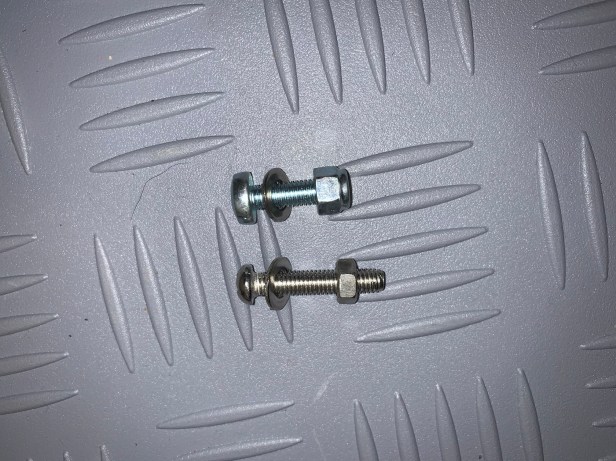
Using different fixings
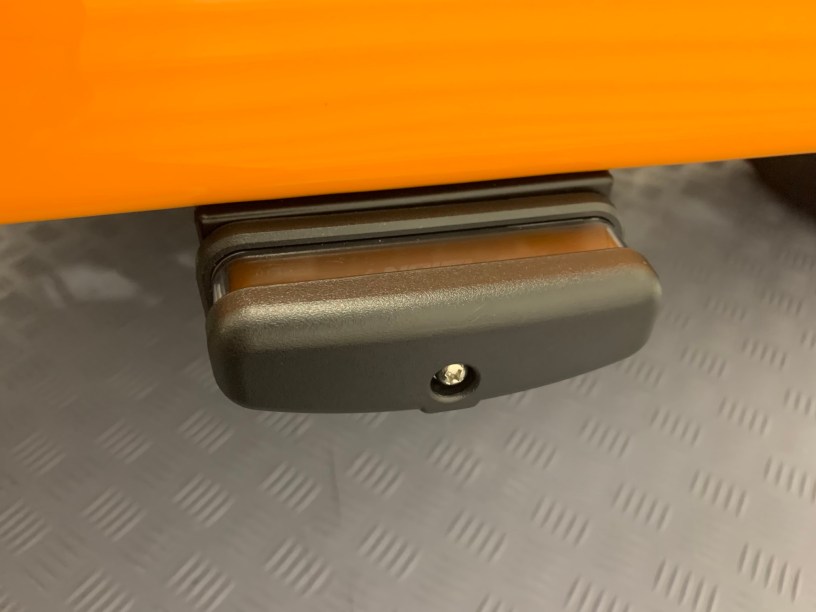
I then added Econoseal connections to the number plate light. This does mean I have to dismantle the connector to remove the light, but that’s no different to the headlights. I also decided to replace the fixings for shorter ones and use a nyloc nut to remove the need for excess torque on the plastic number plate light.
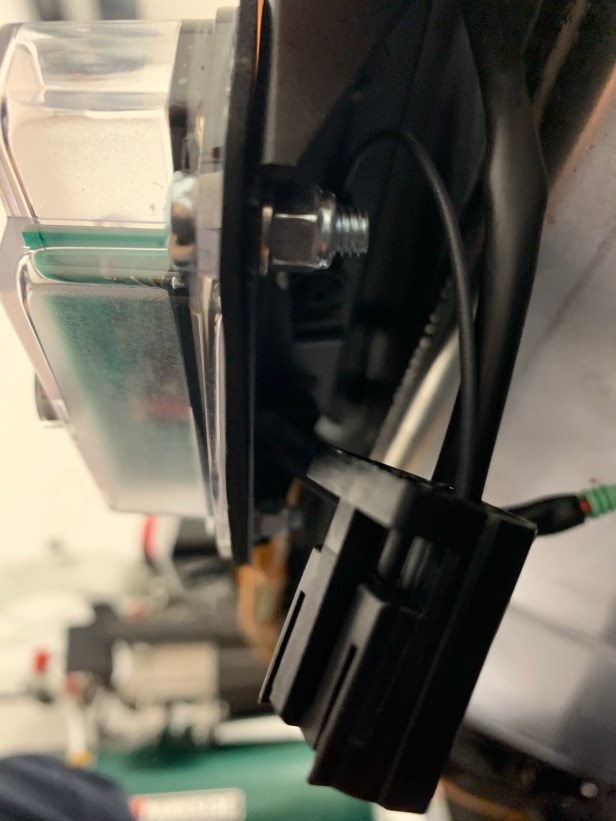
Light fitted 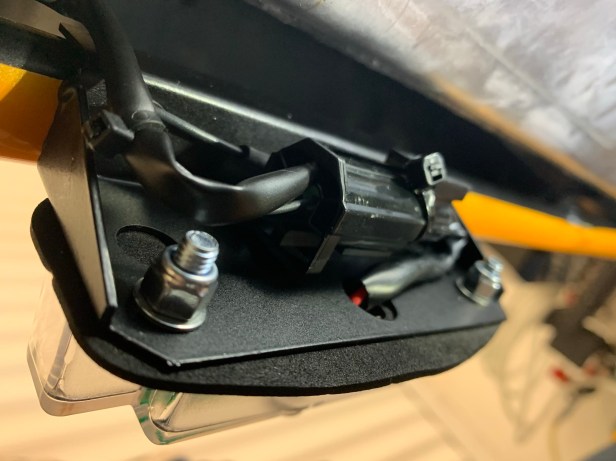
Connector secured
Finally I secured the connector with a tie wrap to the back of the bracket.
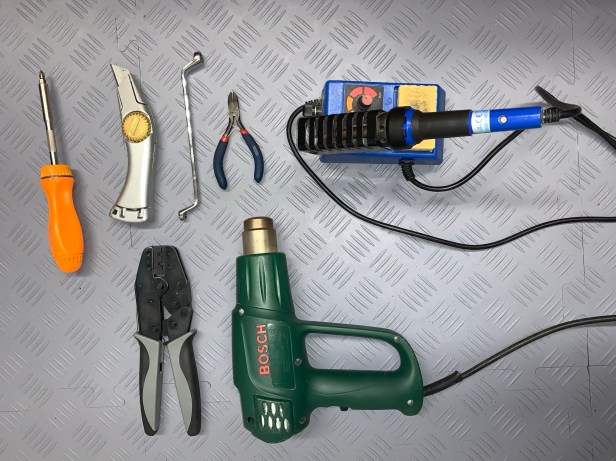
Tools Used
- Pozi screw driver
- Knife
- 8mm ring spanner
- Side cutters
- Soldering Iron
- Heat gun
- Econoseal crimping tool
