
This post is all about fixing my mistake with the top hose when fitting the radiator, and taking the opportunity to fit the earth strap while access is just that little bit easier.

The first observation I made was that the replacement top hose is thinner walled and as a result significantly more flexible.

New hose needs more trimming 
This time measured with catch tank in place 
Old hose on top of new hose to compare
This flexibility meant the bend over the catch tank to the new 420 radiator entry location was much easier to achieve. This hose no longer applied strain to the radiator connection and I am much happier with the replacement than I was with the original hose. There was one down side though: the hose needed some trimming of both ends and that didn’t end well last time.
One observation you may have spotted from the photos: I removed the plenum again to fit the top hose, it would have been a struggle if I hadn’t.

Top hose now clears the catch tank 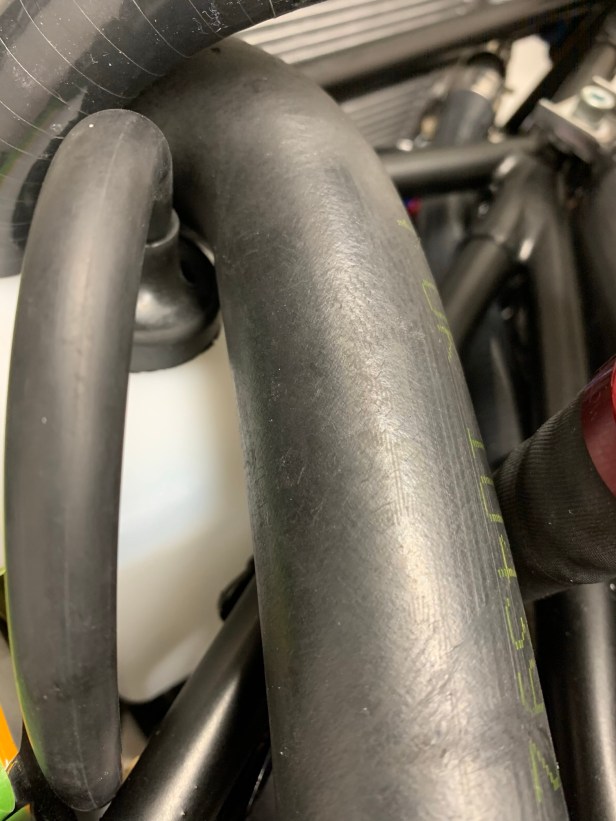
From a different angle 
Catch tank can be emptied
Once the top hose was cut the right length (this time), I applied a slight twist to the radiator connection. This guides the hose away from the catch tank, and permits the emptying of the catch tank contents without discounting the top hose. As far as I am concerned this is a result.
This completes my plumbing for now, apart from the oil hose, which I can’t fit until the 420 comes off wheeled axle stands.

Engine earth strap 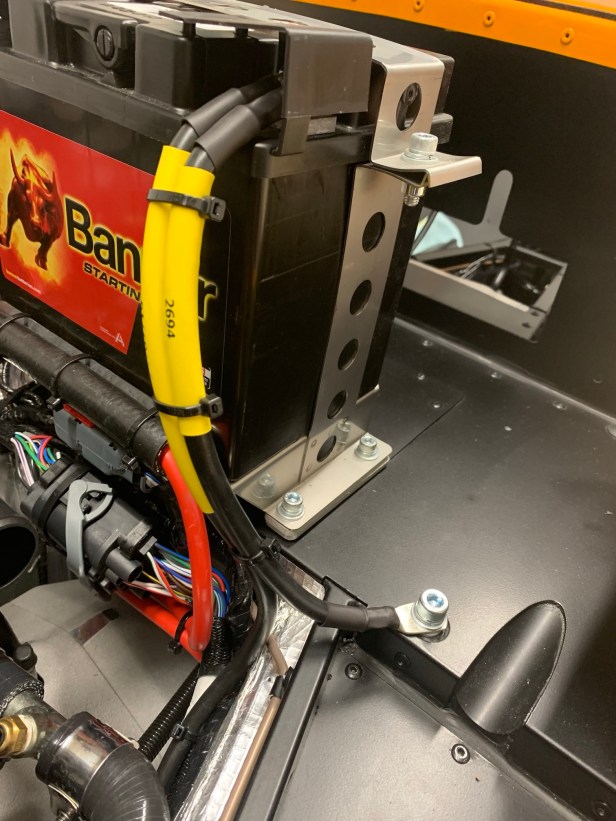
Chassis earth strap and battery connection
With the plenum removed (again), I had the opportunity to finish off the one wiring element I had neglected so far, the earth straps. I connected one earth strap directly to the chassis, by fitting it to the earth strap hole. I added two washer under the earth strap for clearance, to avoid it touching the powder-coated aluminium skin. The other earth strap I fitted to the engine by removing one of the bellhousing-to-engine bolts. Both will be connected the the battery once I am ready to start the engine.
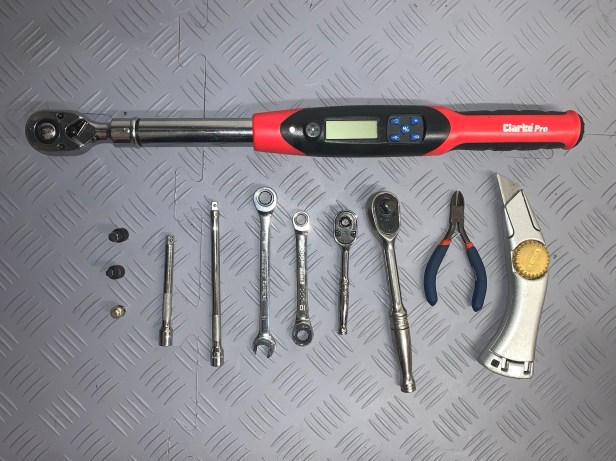
Tools Used
- 6mm hex 1/4” socket
- 1/4” drive ratchet
- 6mm to 8mm adapter
- 8mm ratchet ring spanner
- 1/4” drive extensions
- 10mm ratchet ring spanner
- Knife
- Side cutters
- 8mm 3/8” drive socket
- 3/8” drive ratchet
- 3/8” drive torque wrench

Radiator top hose. Because access to the Plenum bolts is compromised by the top hose I thought it might be worth just seeing if the top hose can be fitted after the plenum. The short answer is yes it can, and whats more it’s relatively straightforward. The top hose feeds in from the heater end towards the front. Its natural angle means it needs a gentle easing to clear the belt tensioner but other than that it was a five minute job, and it rare you say that on a Caterham build. 😁
LikeLike