
My build is into the final stages, which means it’s time to apply IVA trim that’s not be specifically addressed during the related build tasks. This is isn’t an exhaustive list of IVA trim fitted to my car, just the finishing touches.

Upper wishbone nut cover 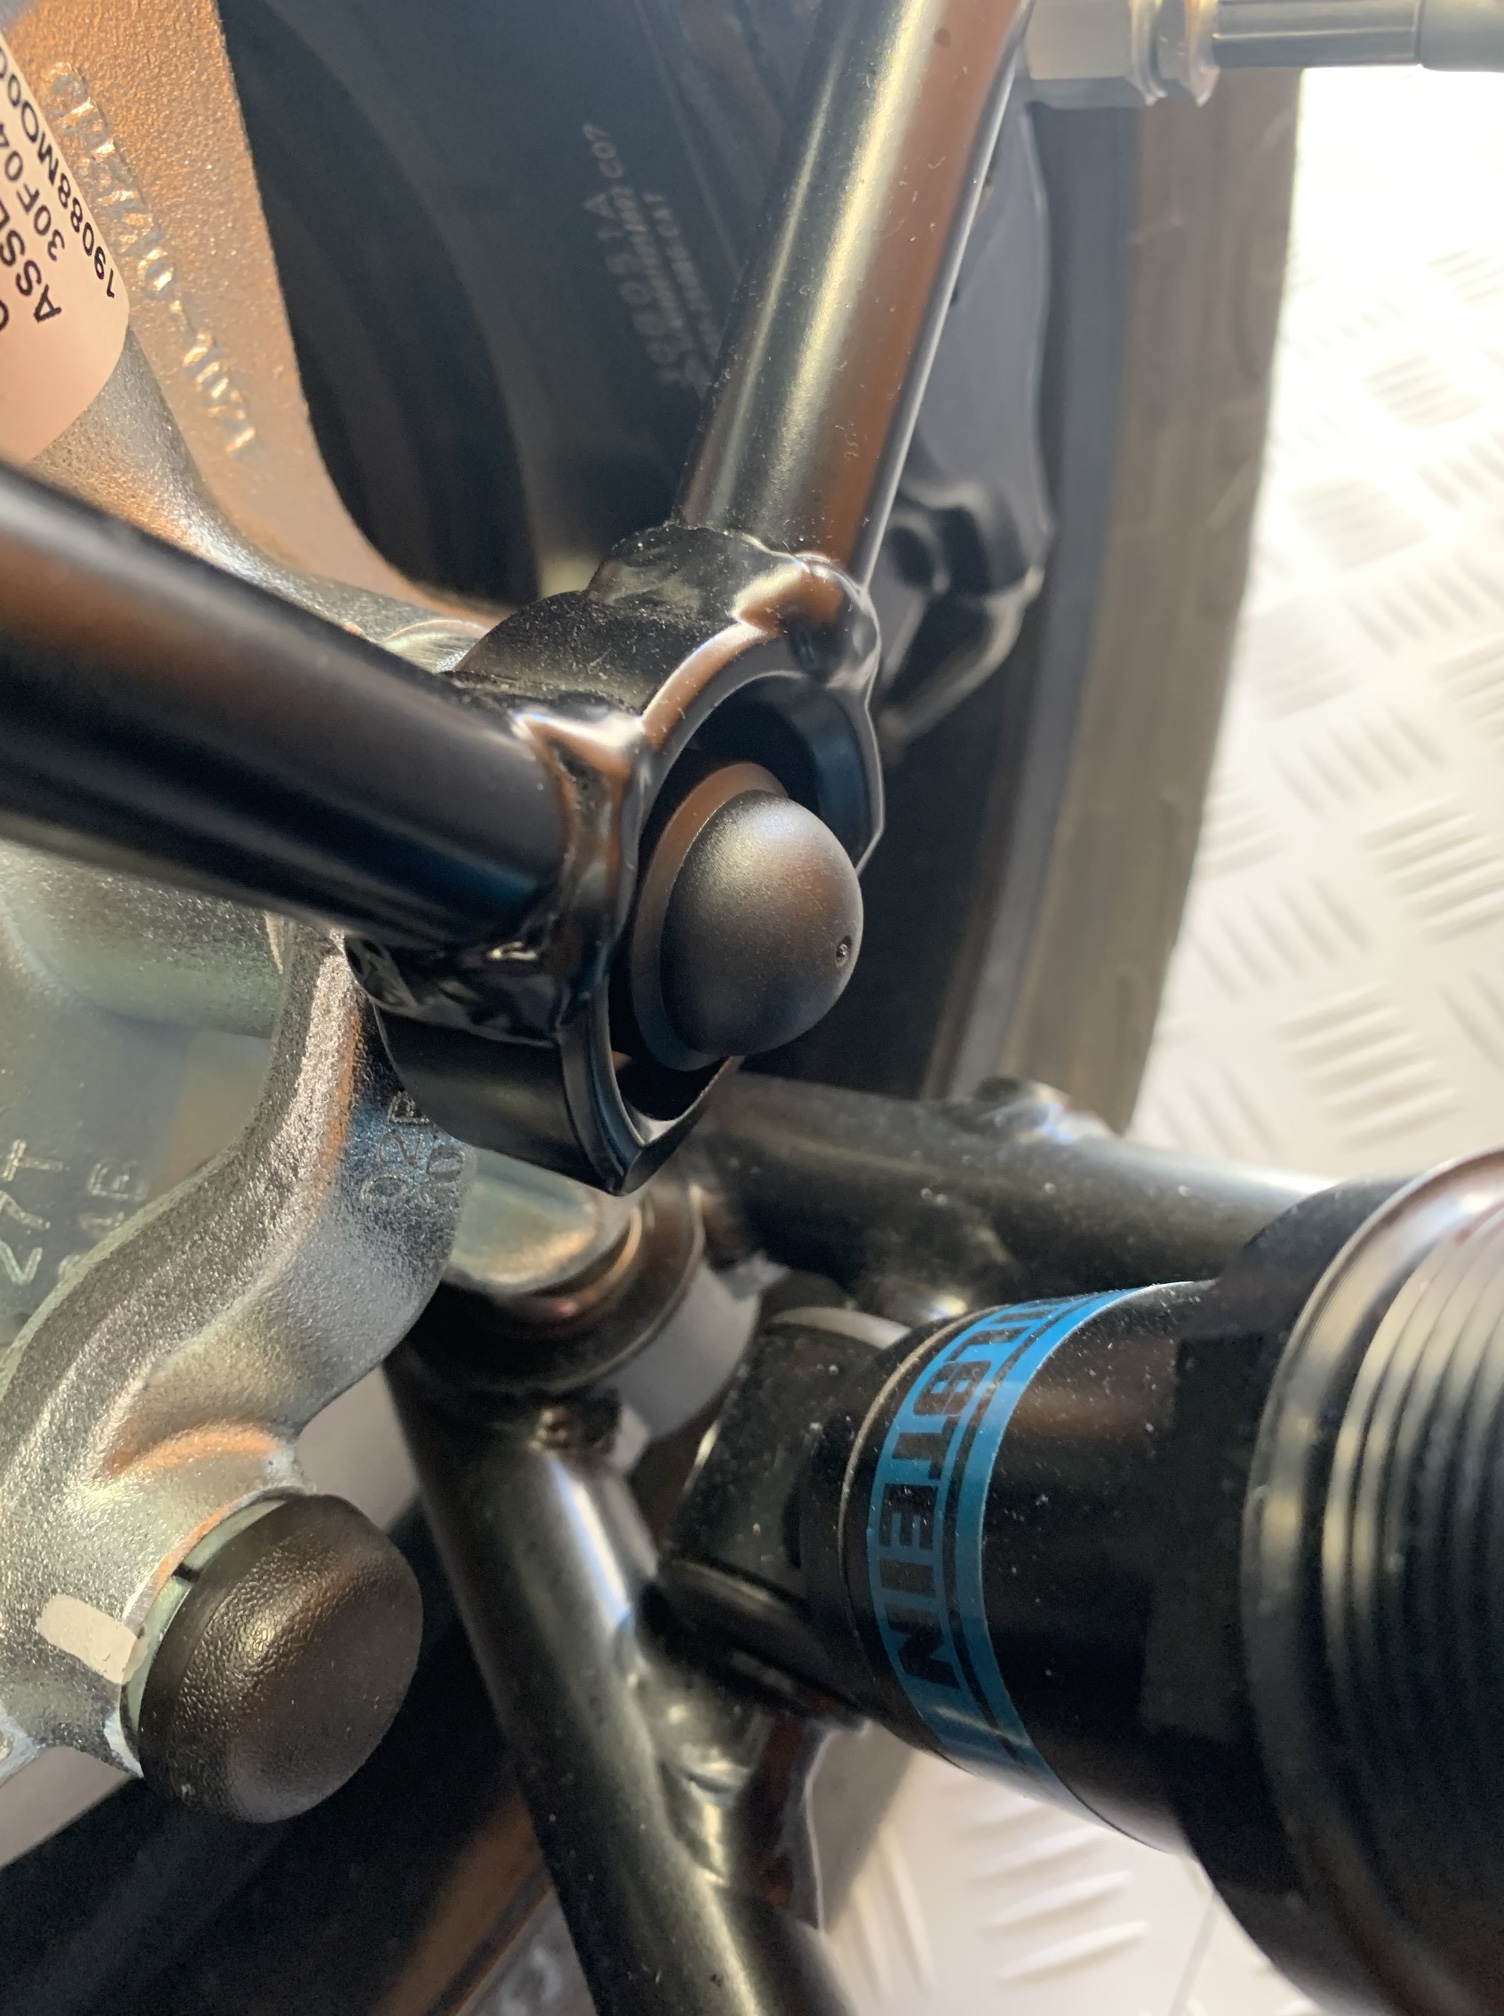
Nut cover for the wing stay nut and steering arm 
Steering arm and track rod arm 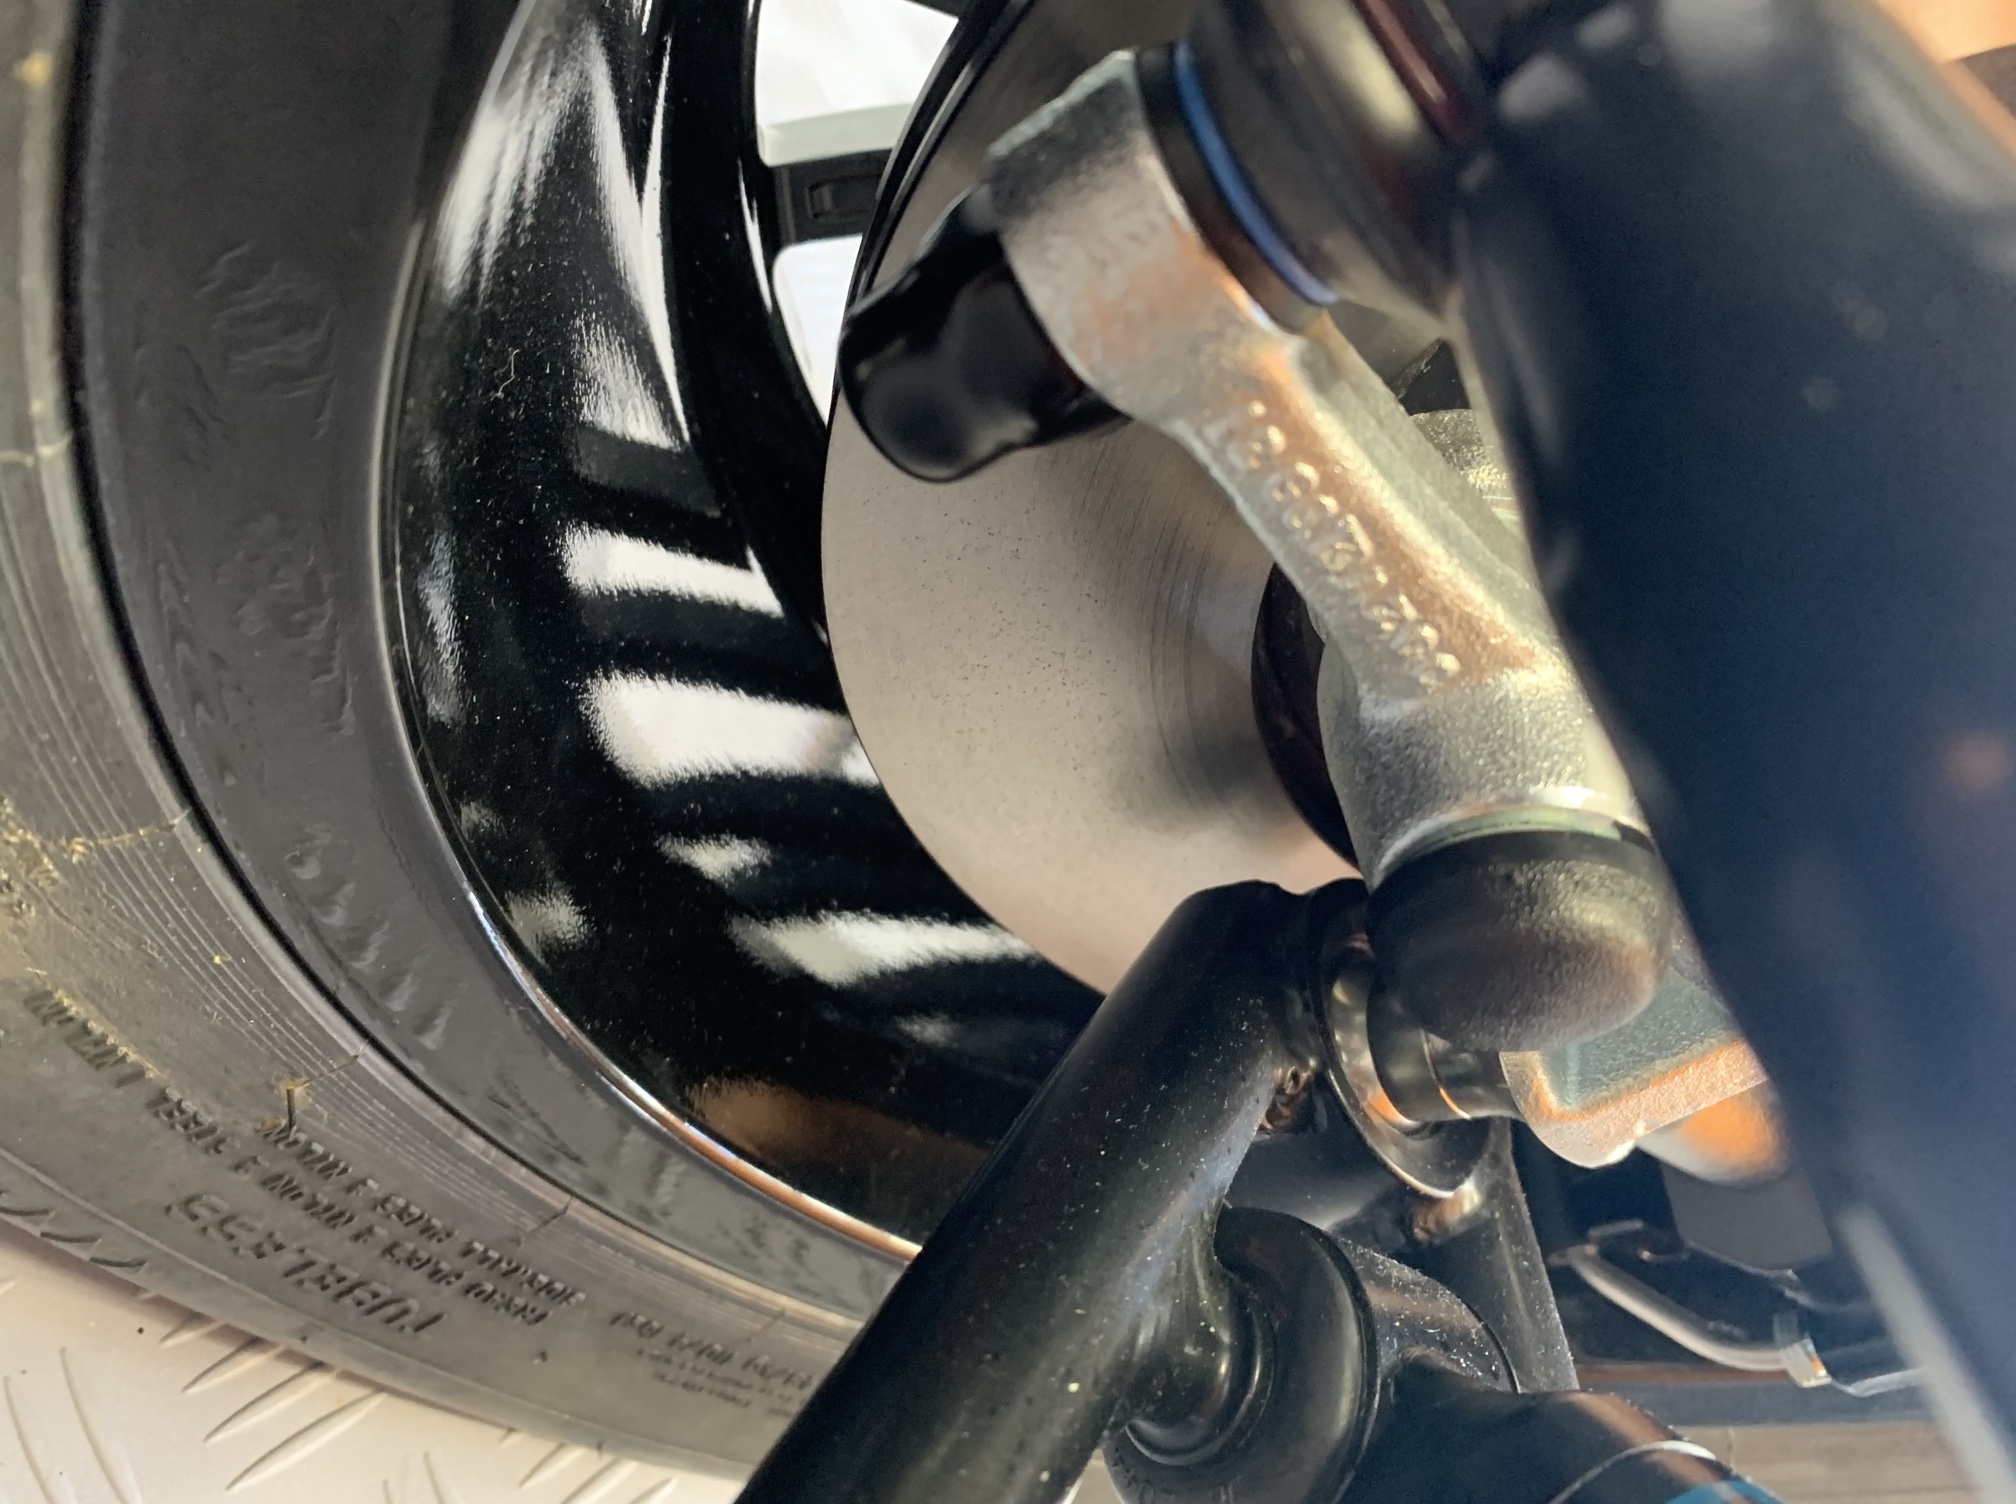
Track rod nyloc cover
Armed with the supplied bag of nut covers, I set about the front suspension, starting with the front upper wishbone mounting bolt. The nut cover goes on the bolt behind the anti-roll bar. The nut that holds the stub axle / wing stay was next.
The nut in the middle of the steering arm needed a cover, too. However, it is not a metric size so none of the covers provided fitted perfectly. I chose the best fit and applied a little glue (I used Loctite 37532) to hold it in place. Finally the track rod end nyloc is covered with a rubberised nut cover.
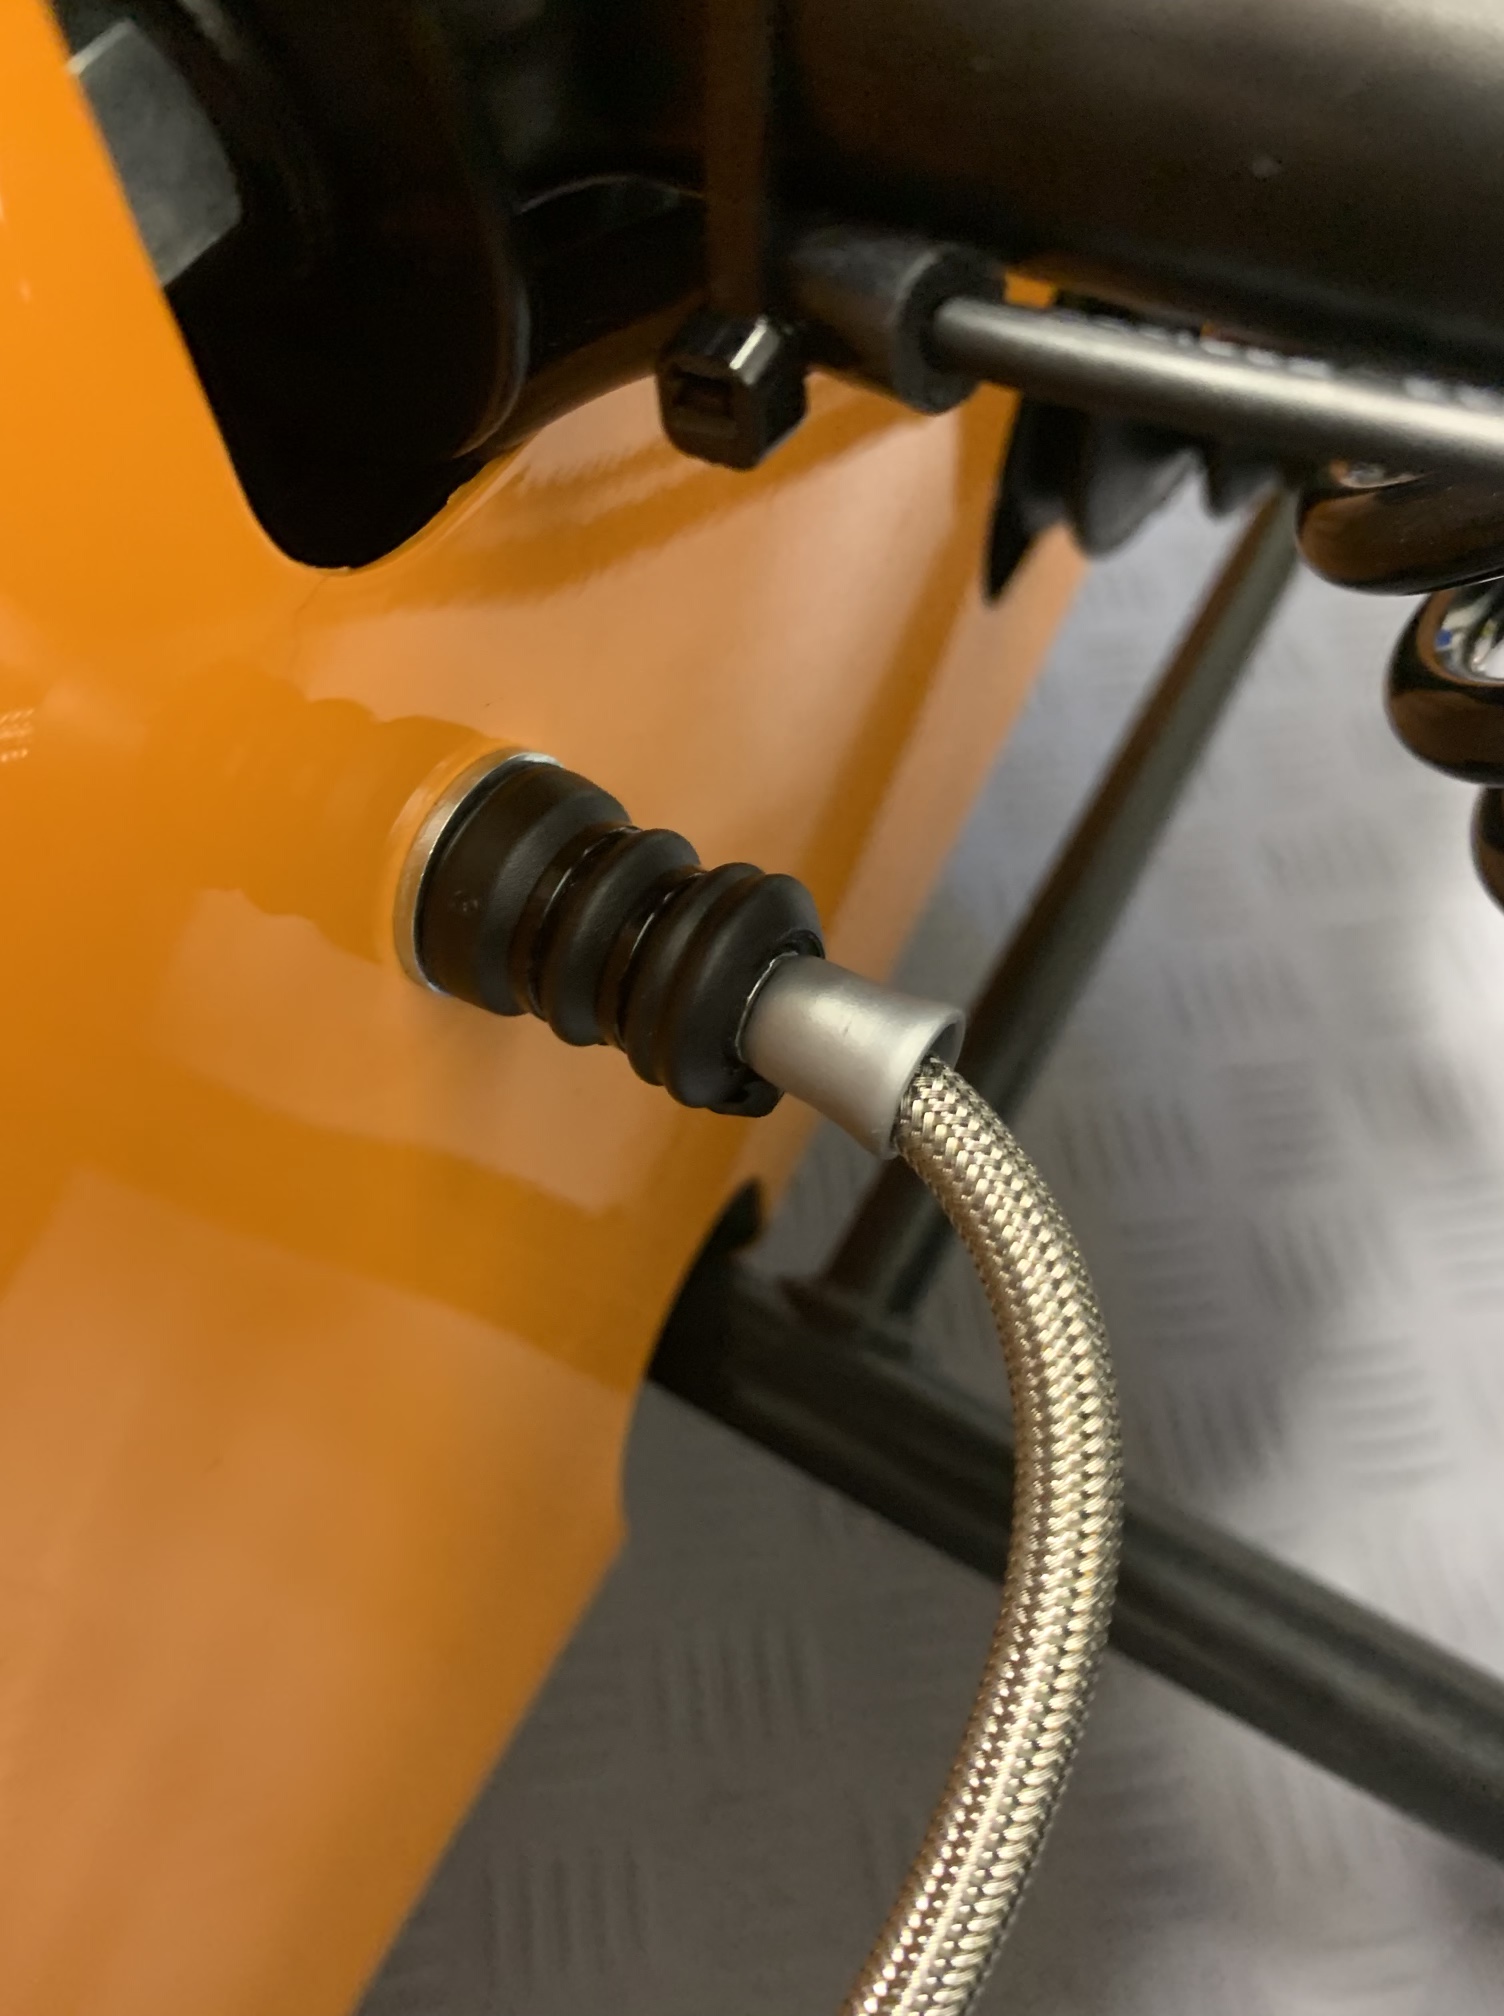
Brake hose nut cover 
Upper wishbone locking nut cover
Im not sure if the next cover is needed, but it was on the Caterham PBC check list I saw. The PBC check list advises to cover the nut holding the brake hose to the side skin. To do this, I cut and tie wrapped a rear brake caliper slide pin gaiter. I had spares from my previous Caterhams, but you could use a little bit of hose and the same cover used for the tie rod nyloc.
The locking nut on the upper wishbone also needs a cover. The kit supplies extra front anti-roll bar boots that can be cut and tie wrapped in place. I replaced the tie wrap holding the repeater wire to the ball joint to keep the install as neat as possible.

Collector spring lower hook 
Heat shield edge trim 
Exhaust mount nut covers and edge trim
I then turned my attention then to the exhaust. The collector lower spring mount (the one pointing forward) needed a little bit of washer hose to soften the edge. The heat shield needs some heavy duty U channel trim fitted. I find cutting this trim with a Dremel is the easiest approach.
The exhaust mounting bracket needs a couple of nut covers and an off-cut of the heavy duty U channel trim. The nut under the exhaust mount does not need a nut cover.
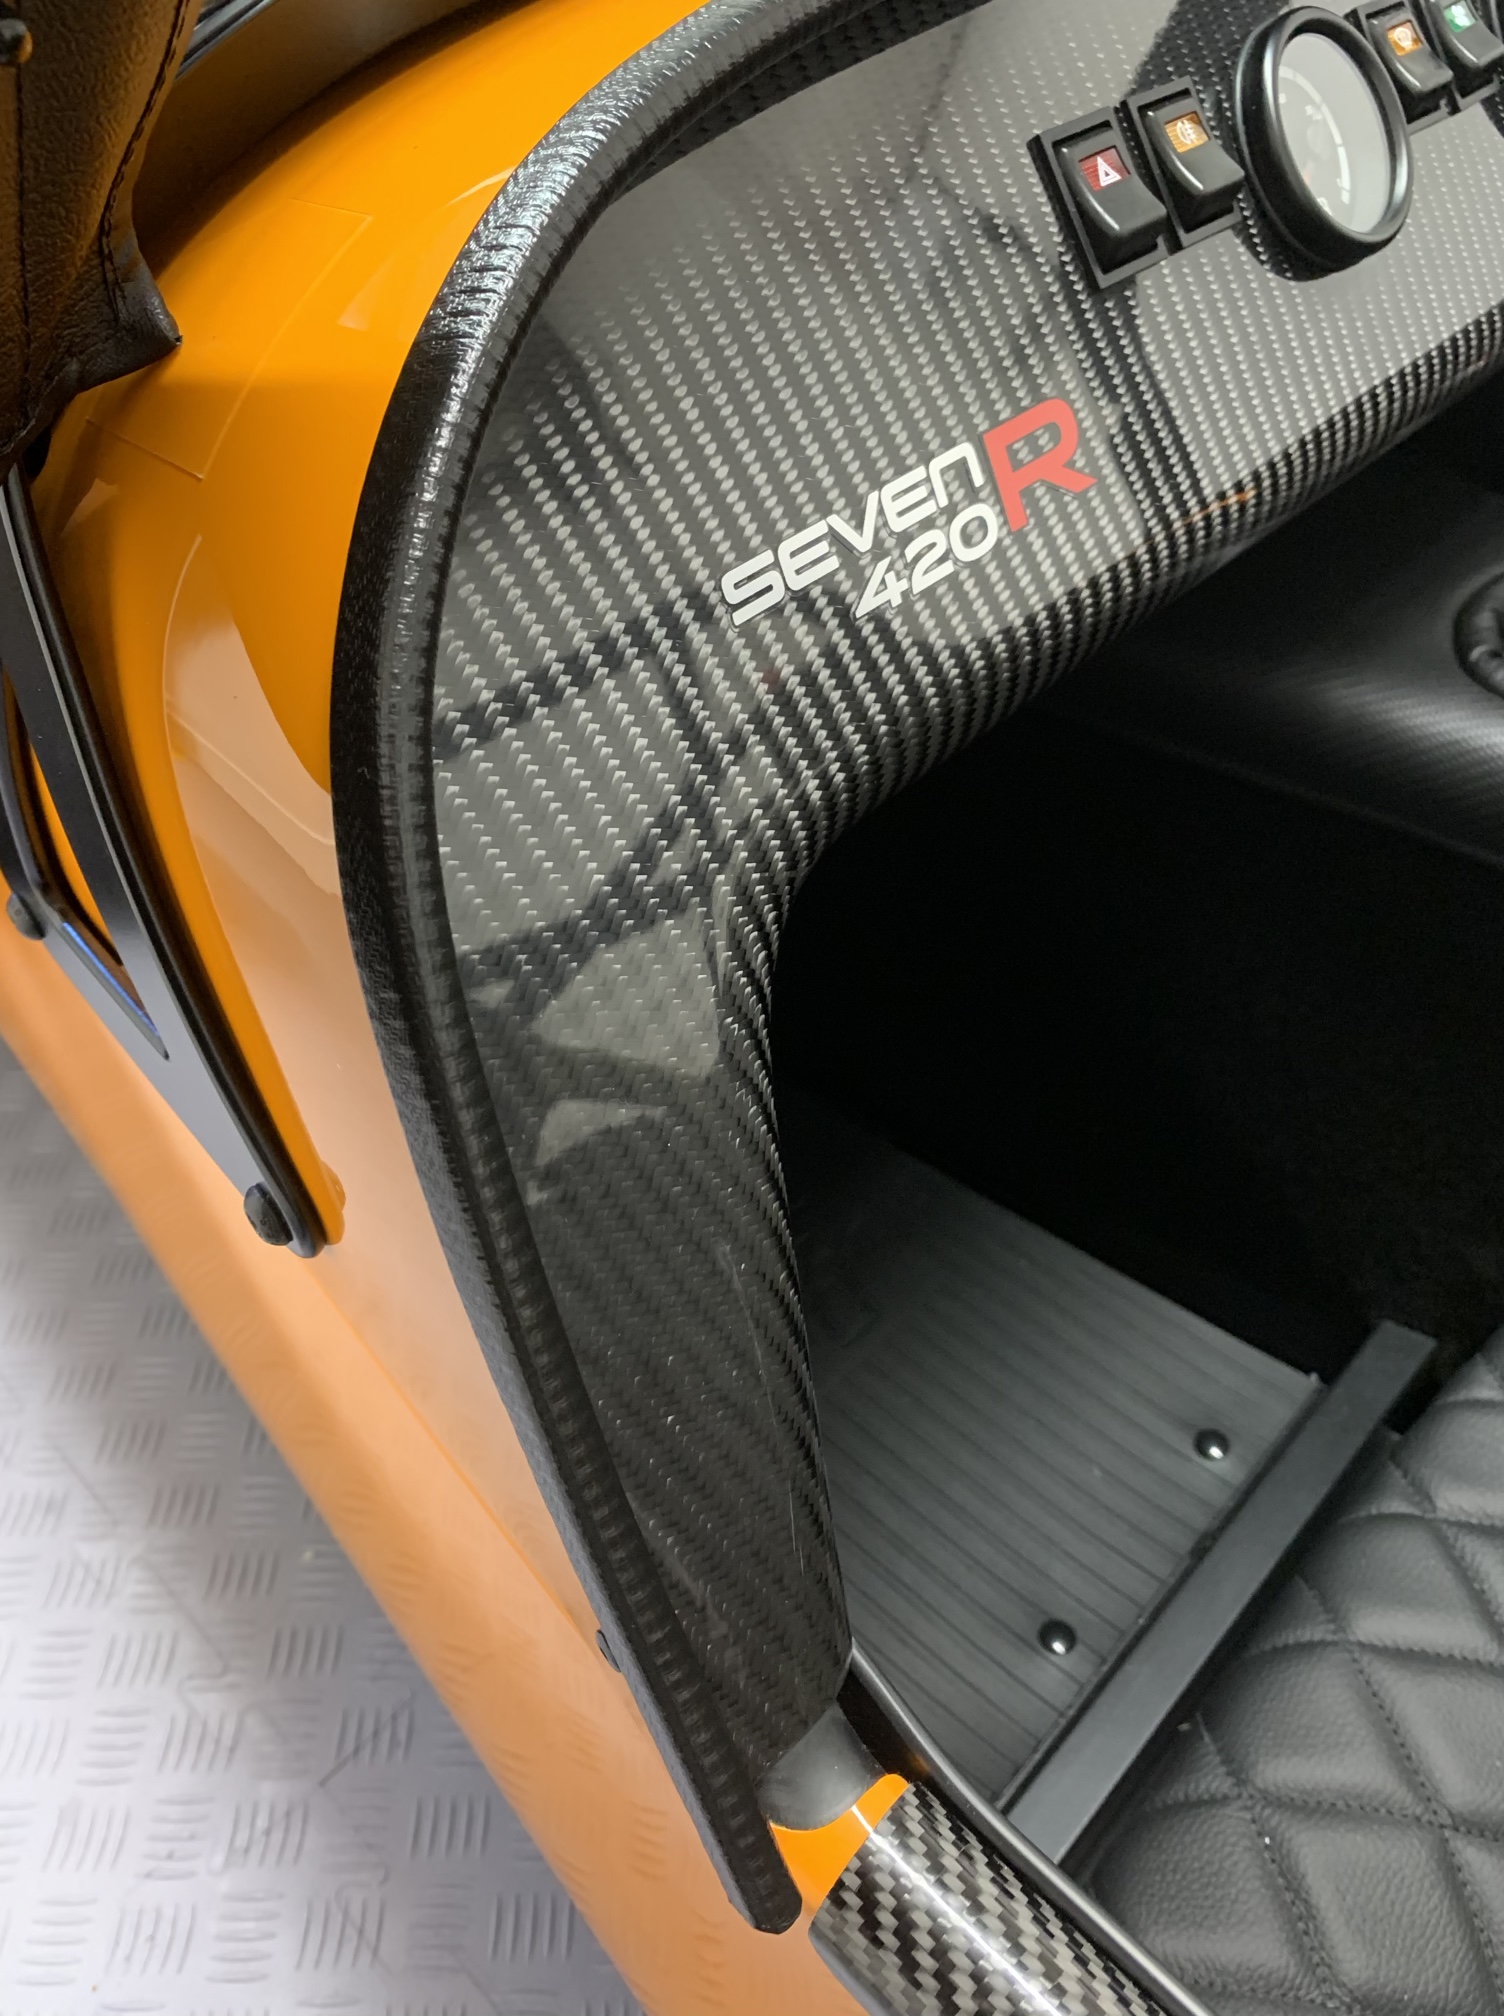
Dashboard scuttle U channel trim 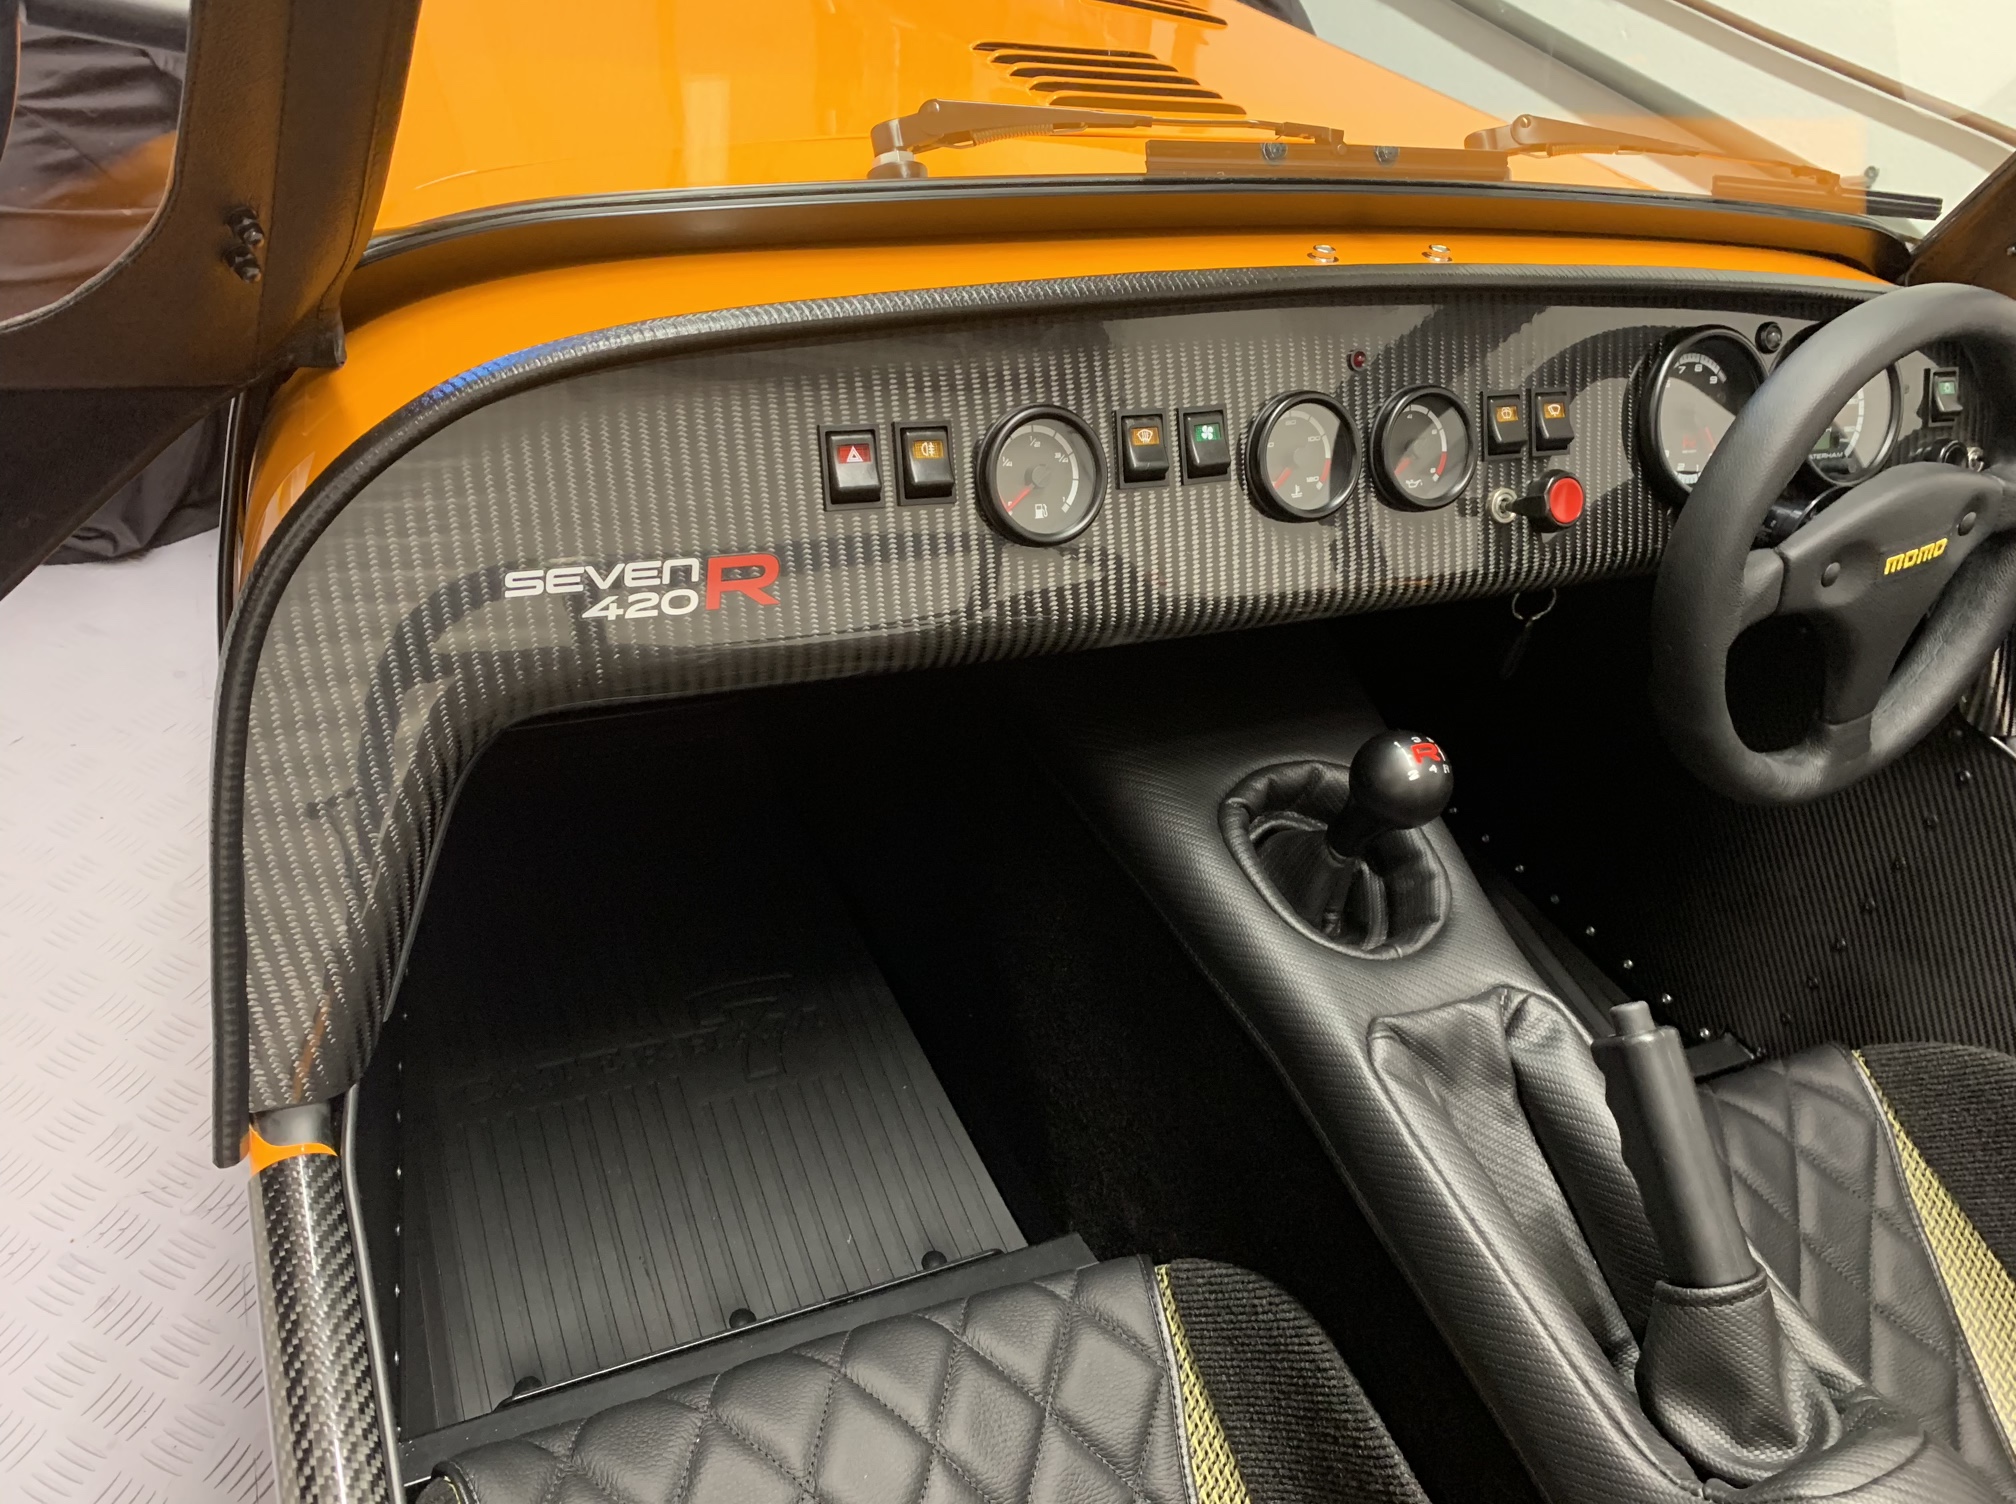
Another view of scuttle trim
I carefully fitted more heavy duty U channel trim to the scuttle edge of the dashboard. I want to be able to remove this post IVA without paint damage, so I took great care to ensure the metal springs contained within the U channel trim aren’t exposed especially where the trim has been cut. The metal springs can be pulled out with pliers if exposed.
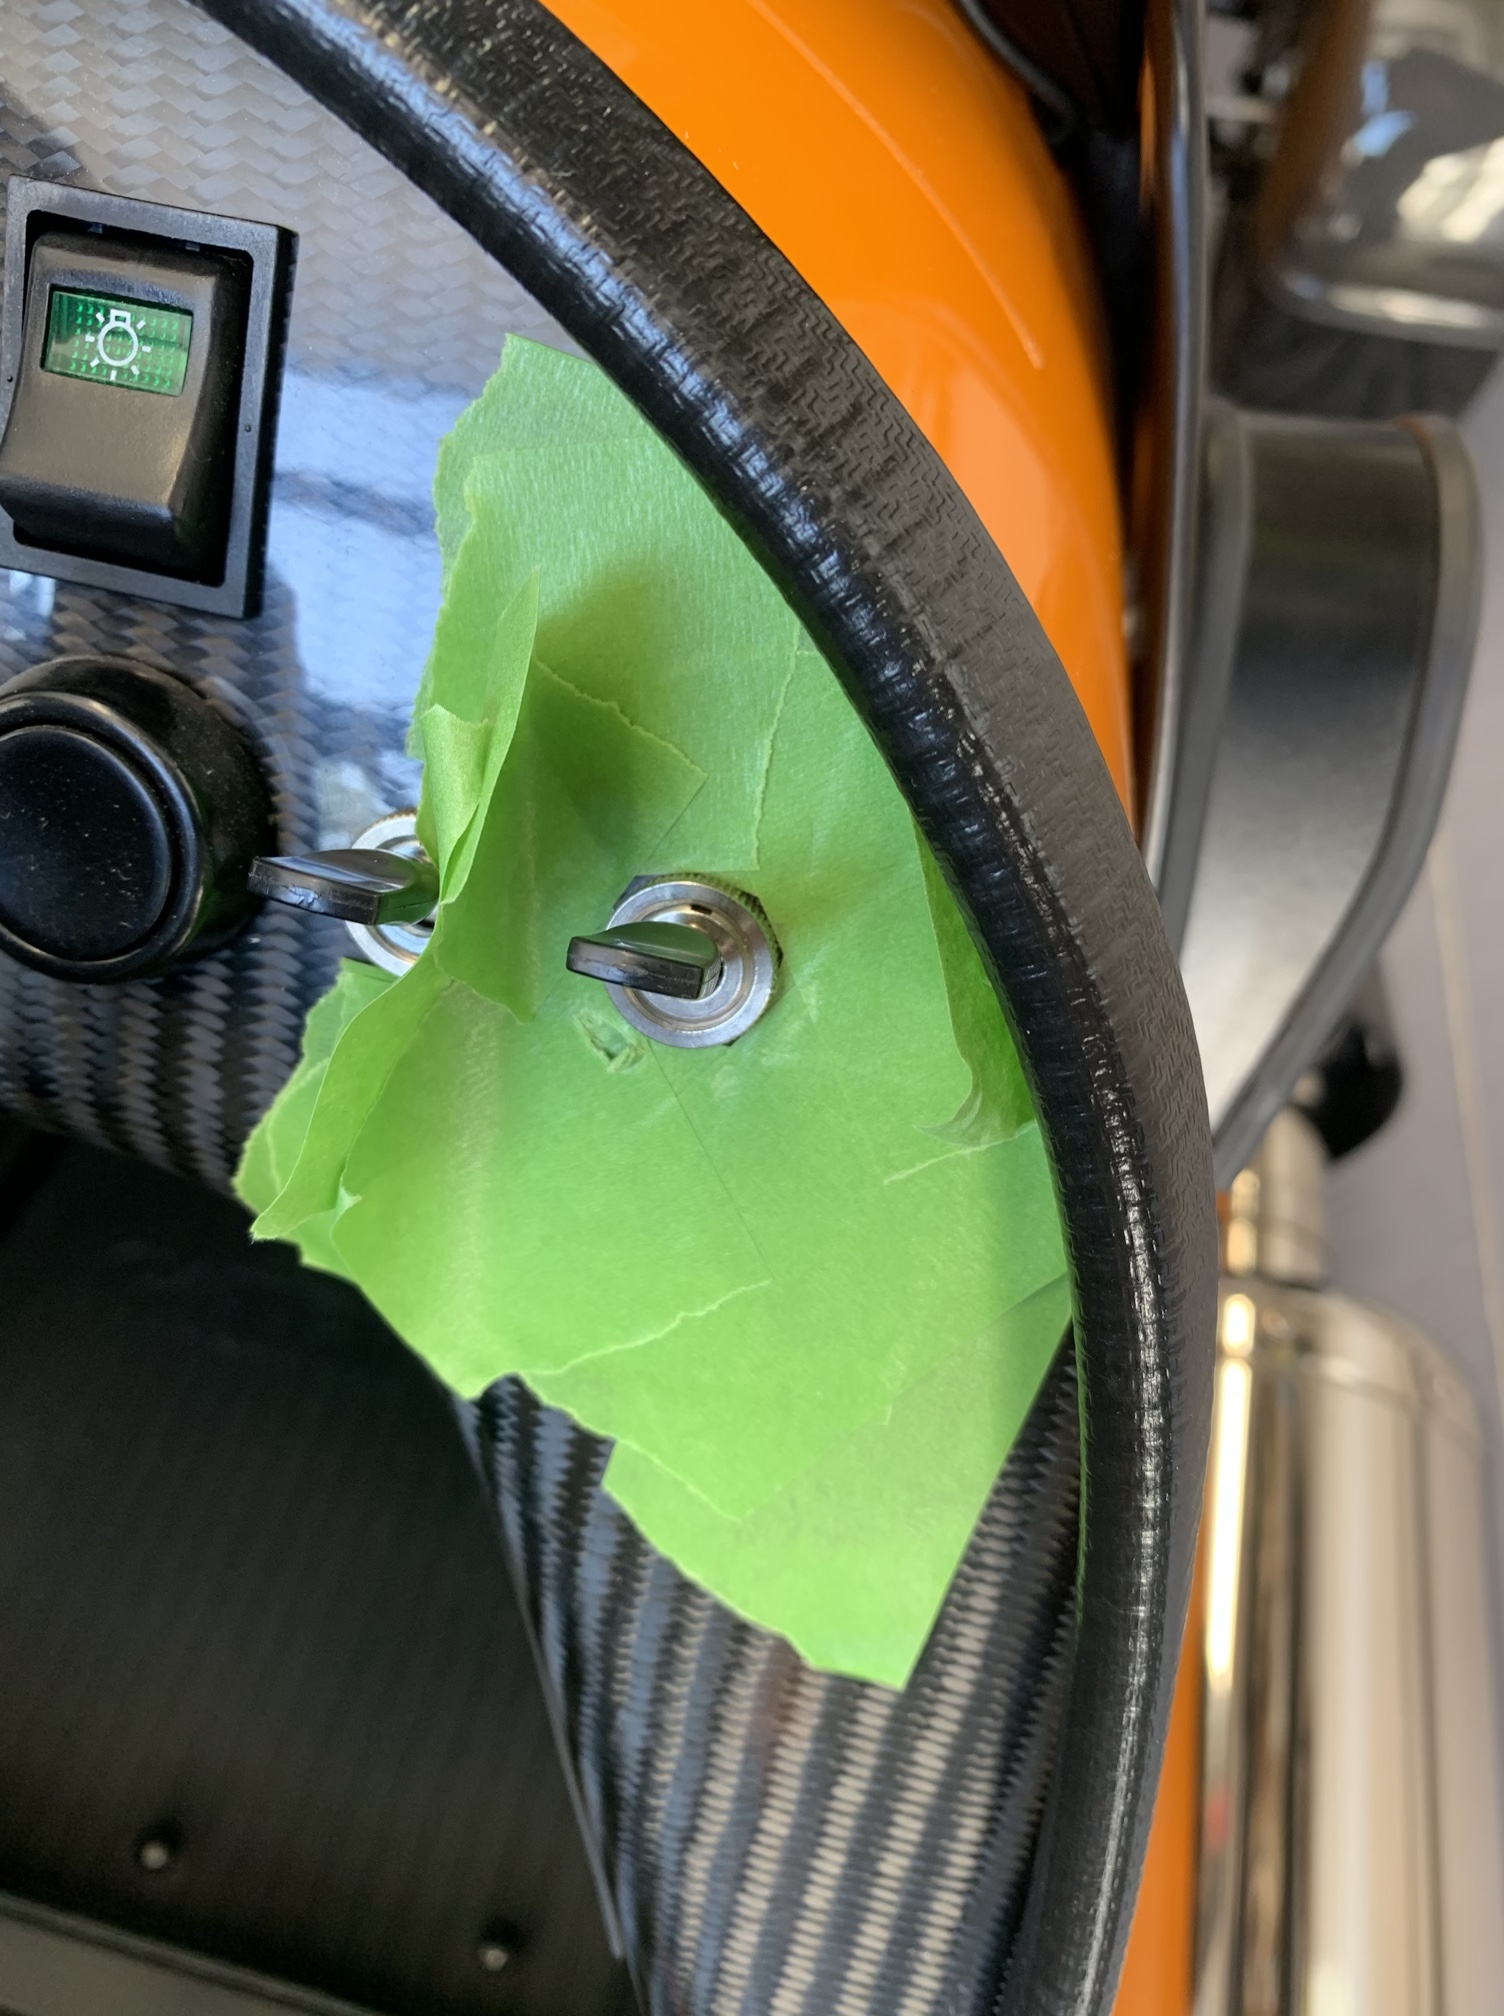
Flash switch removal 
Flash switch removed
This is a bit of a strange one: for IVA, Caterham remove the headlight flash switch and fill the hole in the dashboard with a rubber bung. My flash switch was very tight, too tight for me to undo with my fingers, so I had to use a pair of pliers. Before I used the pliers, I protected the dashboard with masking tape. Using the pliers did damage the metal ring very slightly, but I have spares (after loosing one a few years back). The flash switch will remain tie wrapped away for now.
Removing the flash switch might not be needed for cars fitted with the 620R dashboard, but I know it was done on the standard dashboard models like my car.
All that remains from an IVA perspective is to label the switches without symbols: Main Beam, Horn, Start and Indicators.

Tools Used
- Dremel
- Pliers

[420R S3, Q1 2022]. During my IVA I was told two interesting things relating to the above.
Firstly, labelling the switches is not required. The UK legal requirement, apparently, is that there can be no confusion as to the usage of any switches. My inspector (who was quite a stickler for detail) felt they were all obvious, not to mention the stickers look horrible and they know they are all removed the moment the test is passed.
Second, the flasher switch also doesn’t need to be removed for any reasons of legality. However, apparently previous (and possibly existing) Caterham wiring looms sometimes had a strange quirk whereby flashing the headlights caused the reverse light to come on in certain (unspecified) circumstances…!? I’ve never seen it, but it probably wouldn’t surprise anyone who’s owned a Caterham if that was true. So if you want to save the effort of removing the switch, get someone to watch the rear of the car whilst you try every possible combination of other switches to check it doesn’t happen.
Disclaimer: I’m only passing on what I was told and take no responsibility whatsoever for it being right or wrong!!
LikeLike