
I have fitted and refitted Caterham collectors many times, because both my 360R and my Sigma 150 had decat pipes, and therefore I swapped them at MOT time. I also carried the catalytic converter to track days as a way to reduce noise when needed.

Sticker to remove 
Lambda sensor fitted
I started by removing the sticker, and fitting the lambda sensor. When removing the protective cover from the lambda sensor, I was careful not to touch the sensor.
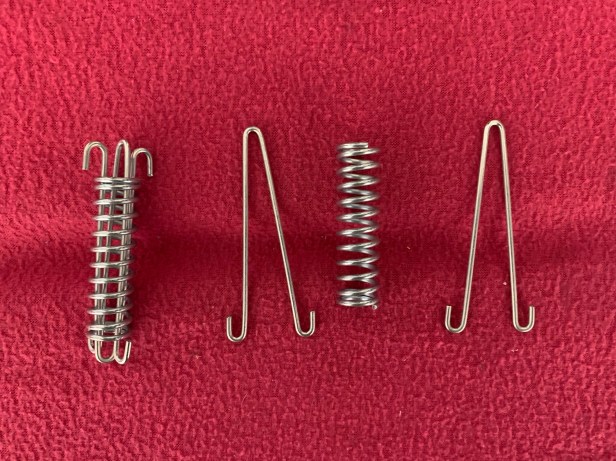
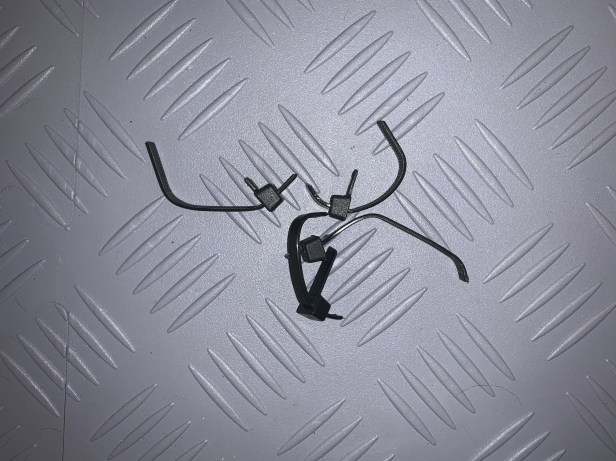
Spring clamp as supplied 
Not a good fit 
Bent for better fit 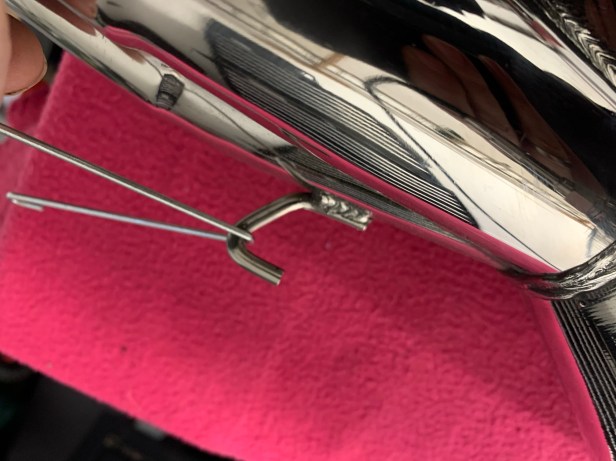
Better fit on collector 
Modified next to stock
Next task is the modification of the spring clamp, because the clamp as supplied doesn’t sit flush on the collector or primary. To do this, I pulled the clamp apart and opened the angle slightly. This gives a few extra millimetres, which sometimes makes all the difference and that’s all that was needed.
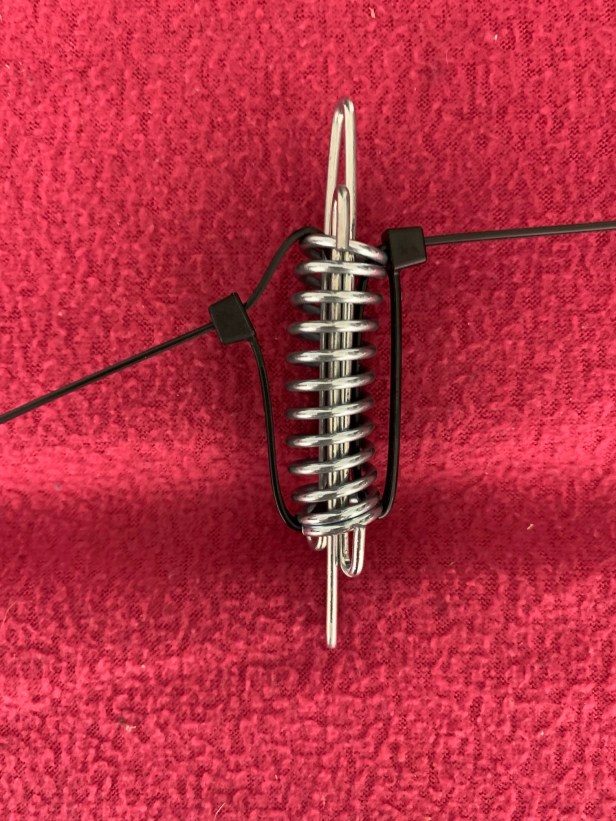
Start compressing 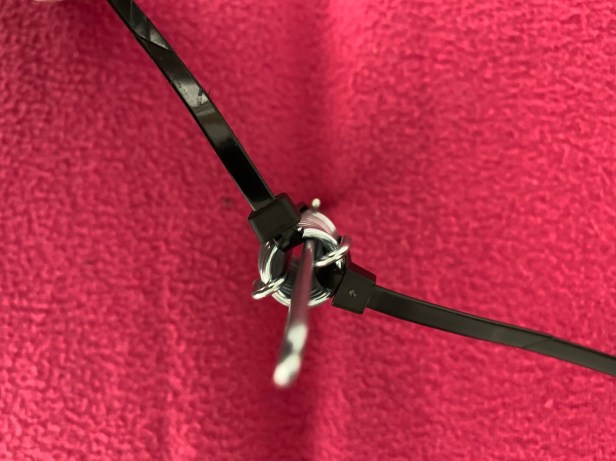
Tie wraps can slip 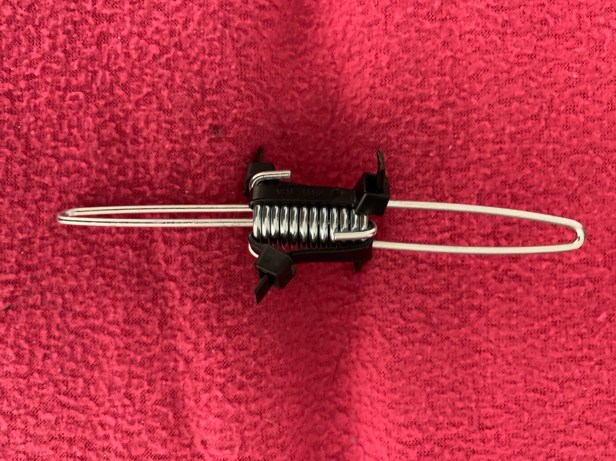
Fully compressed
I compress the springs with tie wraps. I start with two, but as the pressure builds they tend to slip around the spring, so adding another two tie wraps are usually required to get the spring fully compressed. I compress the spring until there are no gaps between the coils.
Just clears 
Ready to remove the tie wraps 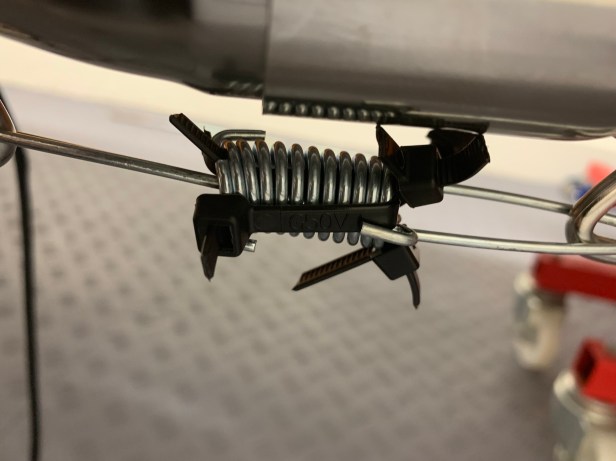
Start with the most difficult 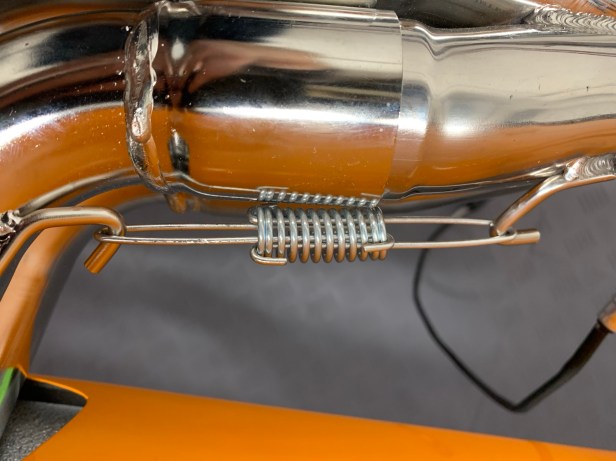
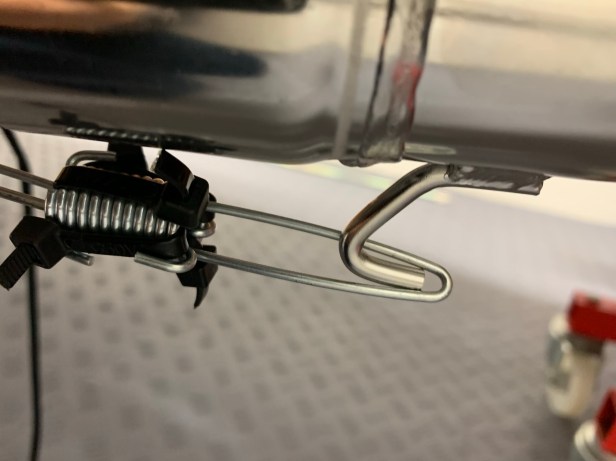
Fitted spring clamp
I find sliding the collector into the primaries is a juggling act, but since I still haven’t torqued the primaries to the engine there is plenty of wiggle room. A word of caution: make sure the primaries don’t touch the lower skin as the weight of the collector is applied! I spray a little bit of WD40 on the joints to make the insertion easier.
The spring clamps should just clear the mounting lugs on the collector and primaries. Once the clamp was in the correct location, I started cutting the tie wraps to release the tension, starting with the most difficult tie wrap to access.
I’d love to say, “no tie wraps were harmed in the fitting of the collector ” 
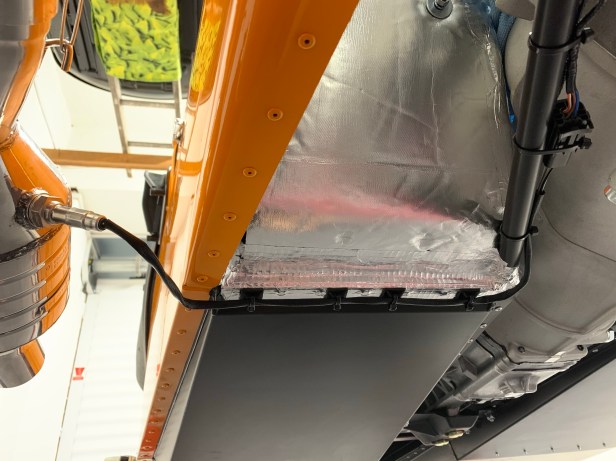
Collector fitted
With the collector fitted, I torqued the primaries to the 47Nm from the manual (2015c and v2.0).
Factory lambda wiring 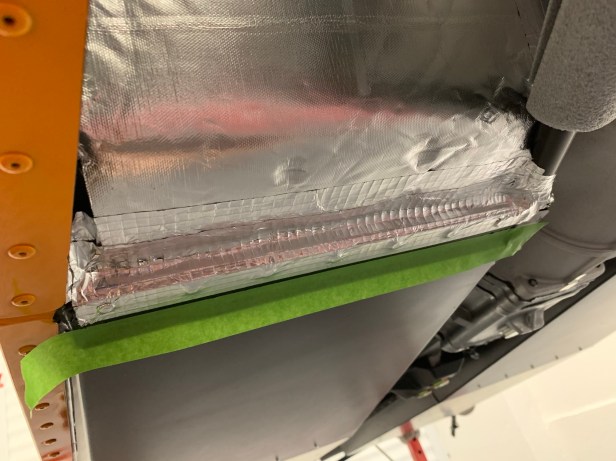
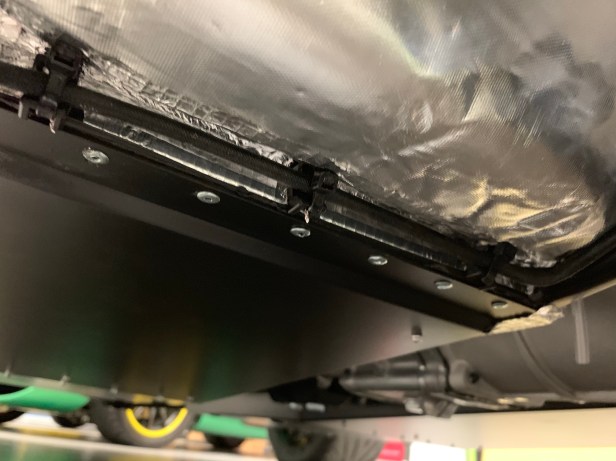
Heat shield as fitted to my chassis 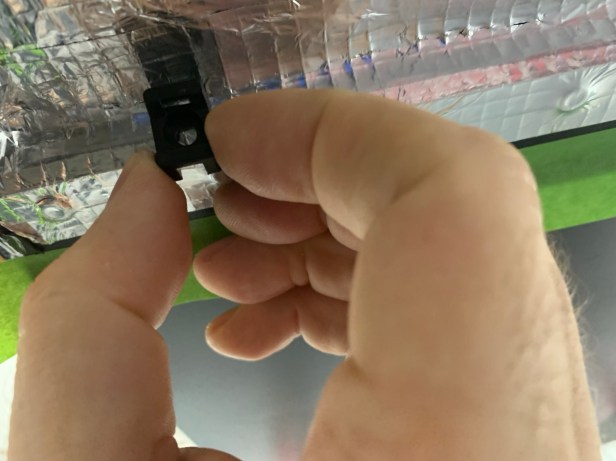
Tie wrap base won’t fit
The final step in the process is to secure the wiring of the lambda sensor, which didn’t got the way was I had planned. I had taken a photo of this at the Caterham showroom, from a factory build car. Unfortunately for me, due to the way my heat shield had been fitted, I would not be able to replicate this, unless I started removing sealing tape, which could result in damage to the heat shield itself. Therefore I needed a plan B.
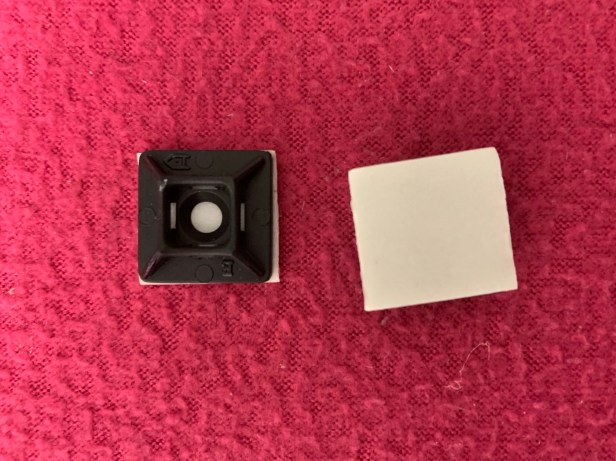
Self adhesive tie wrap base 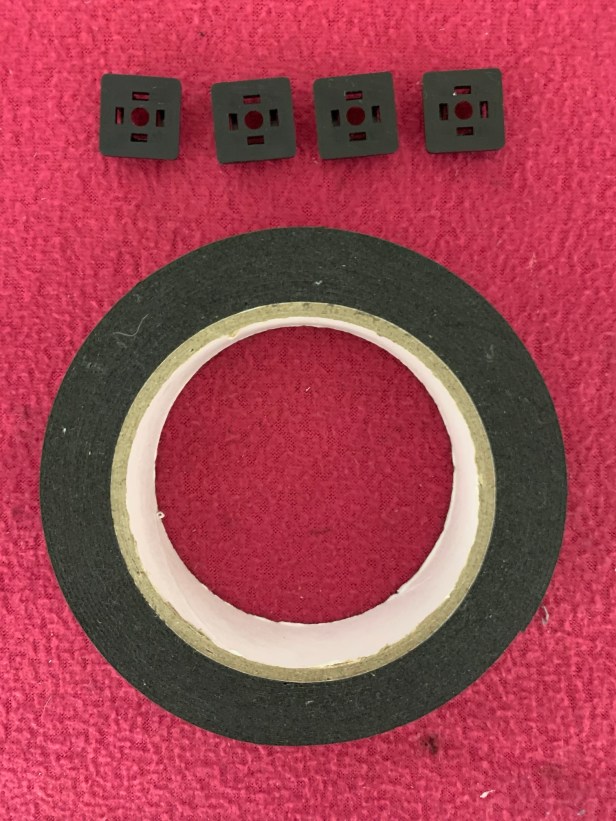
Cleaned ready for new adhesive 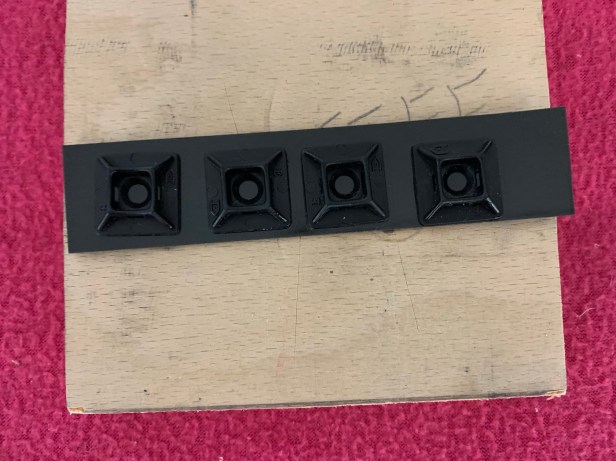
Just needs to be cut out 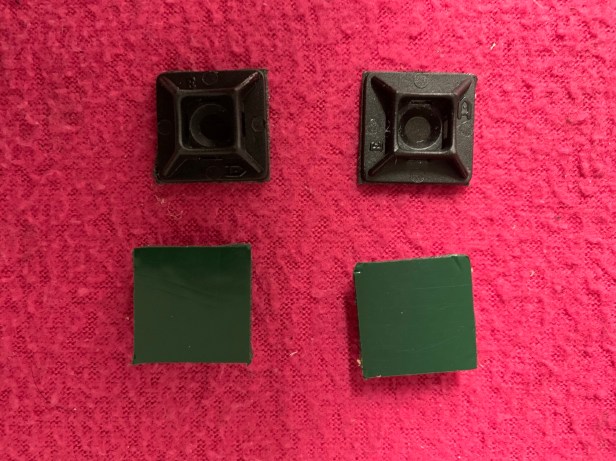
Modified tie wrap bases ready to fit
My plan B was too use self-adhesive tie wrap bases instead, but normally the adhesive is poor in comparison to the double sided adhesive used for number plates for example. So I replaced the adhesive with that of number plate strength.
Lambda wires secured
I realise this isn’t as strong or as durable as the riveted tie wrap bases, so I will have to include the inspection of them and the replacement as necessary in my service schedule. That said, they are only holding a short section of wire, which is also tie-wrapped to the chassis tube.
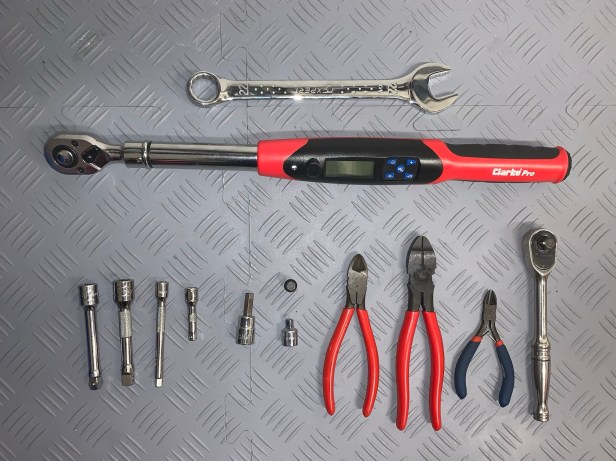
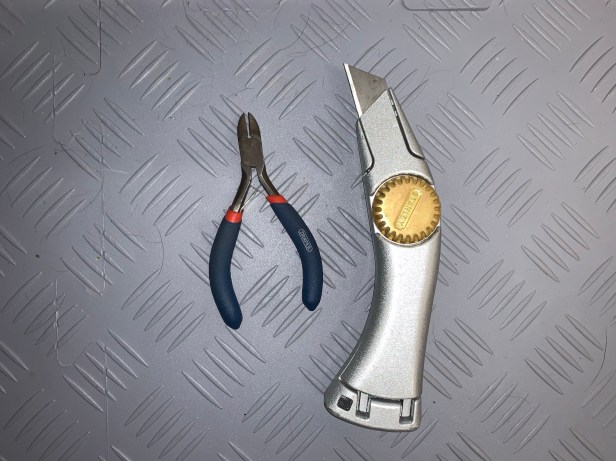
Tools Used
- 22mm open ended spanner
- 8mm 3/8” drive hex socket
- 8mm 1/4” drive hex socket
- 3/8” drive extensions
- 1/4” drive extensions
- 3/8” to 1/$ drive adapter
- 3/8” drive ratchet
- 3/8” drive torque wrench
- Side cutters
- Pliers
- Knife

To pass the 99 dB IVA test, you may need a Pipe Werx 60mm straight baffle, shortened to fit (recessed) in the tail pipe and drilled radially to ensure that the flow area is at least equal to a single header pipe (or you may get excessive back pressure). It can be secured with a single stainless steel rivet from below.
LikeLike
99 dB can be tricky, my plan is to present the car for IVA using the optional Track Day rear exit exhaust and see where I go from there. Those Pipe Werx dB slayers look like a nice bit of kit, obviously warranty is an issue, but I need an option for those quiet track days.
LikeLike
Hi Chris – Firstly thanks for this terrific alternative guide which has been super helpful with my build. I too had an issue attaching the lambda cable as there isn’t really enough room to rivet the cable tie mounts onto the thin vertical face below the pedal box without damaging the heat shield, so …. (a) I riveted the cable tie mounts (incorrectly) horizontally, then (b) threaded a cable tie horizontally through the mount and (c) placed another cable tie vertically behind this horizontal cable tie. I then tied off the horiziontal cable tie, laid the lambda cable over the top, and then closed the vertical cable tie over the lambda cable to secure it. I had wrapped the lambda cable in the unused headlamp sheath, which I had removed following your headlight installation guide, for extra protection. Now you have a higher mounted lambda cable, making it slightly better protected from road debris, that’s riveted in place. The best part is … it passed at IVA, phew! That description is probably as clear as mud – I do have a picture that would help explain but cant see how to attach it!
LikeLike