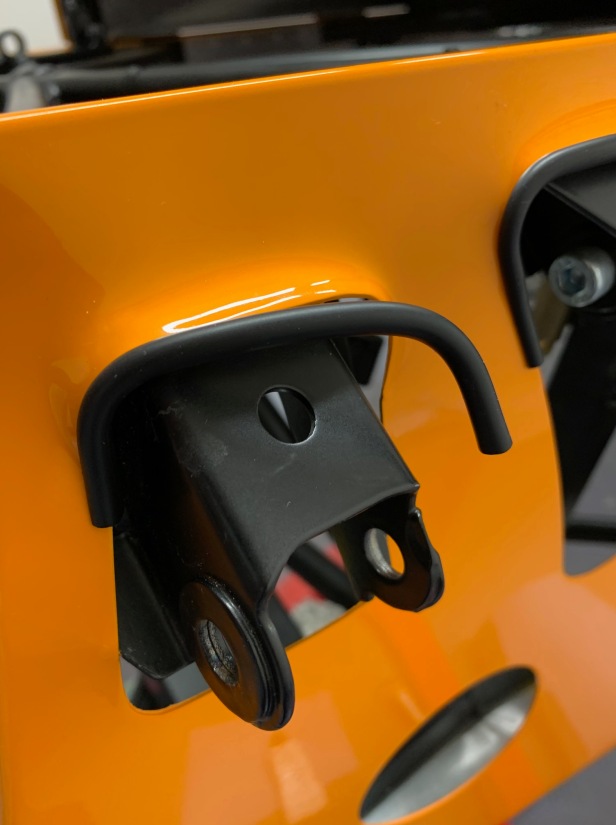
The first job on many builders’ lists is to attach the IVA trim to the chassis, because it’s easier with the front suspension removed. I decided this would also be my starting point.
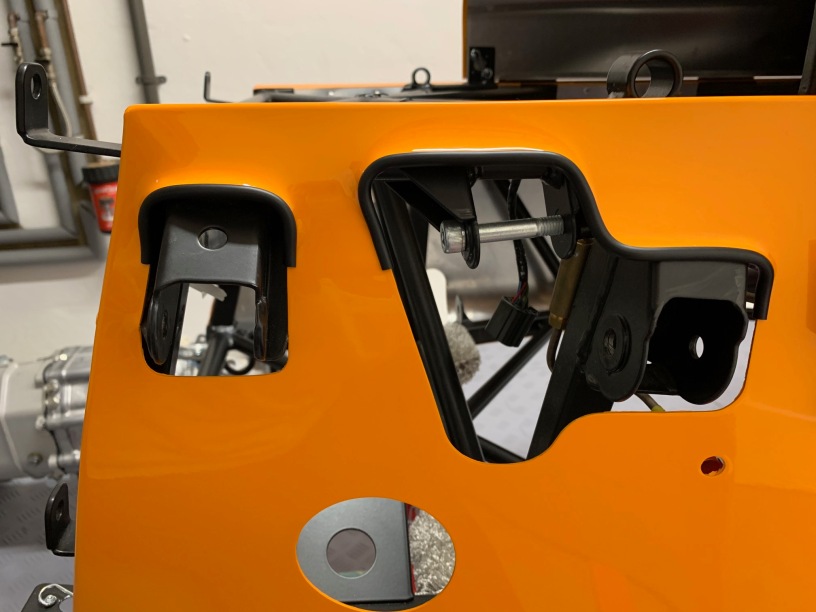
I often see the IVA trim applied around all the openings for the front suspension, steering rack and sometimes even the exhaust primaries. The actual IVA requirement is just the top of protruding edge of the upper front suspension holes, basically where the body sticks out and has a sharp edge.
One of the advantages of going to the factory was spotting that they are no longer using the IVA trim used for the indicator pods and cycle wings on the chassis. Instead, they are using a new trim which is smaller, and doesn’t gape when its formed around the corners. Assuming this is going to be supplied at some stage to all kit builders, it is this new trim I am fitting. I strongly recommend getting hold of this new trim from Caterham, because it’s much easier to fit. I also think it looks much better.
UPDATE – It appears even though the IVA trim I used, is being fitted on factory builds, it’s not included in the kit. You can purchase it from Caterham (https://caterhamparts.co.uk) using part number 300V036A.
I started measuring the length I needed by applying the trim and marking the cut point with a bit of chalk.
My cuts ended up with the following lengths:
Front hole 100mm, rear hole 235mm
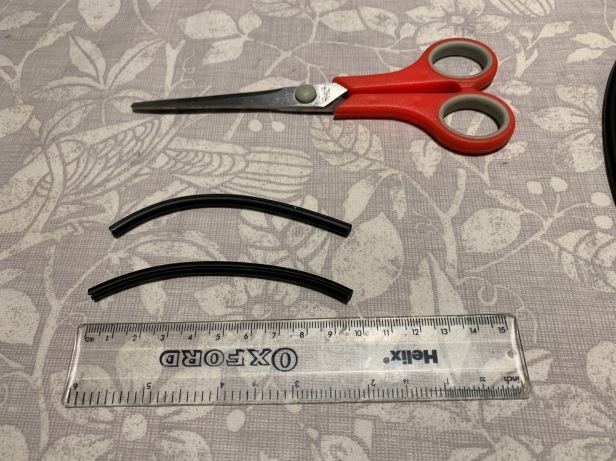
Trim cut to size 
Compare old with new IVA trim
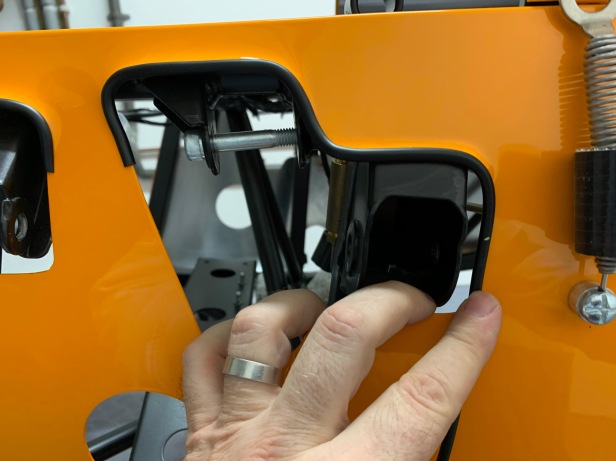
I fitted them to the panel without glue and left them over-night, something that would have not been possible with the old IVA trim. During that time the trim retained a memory of the shape needed, which made it easier to glue in place.

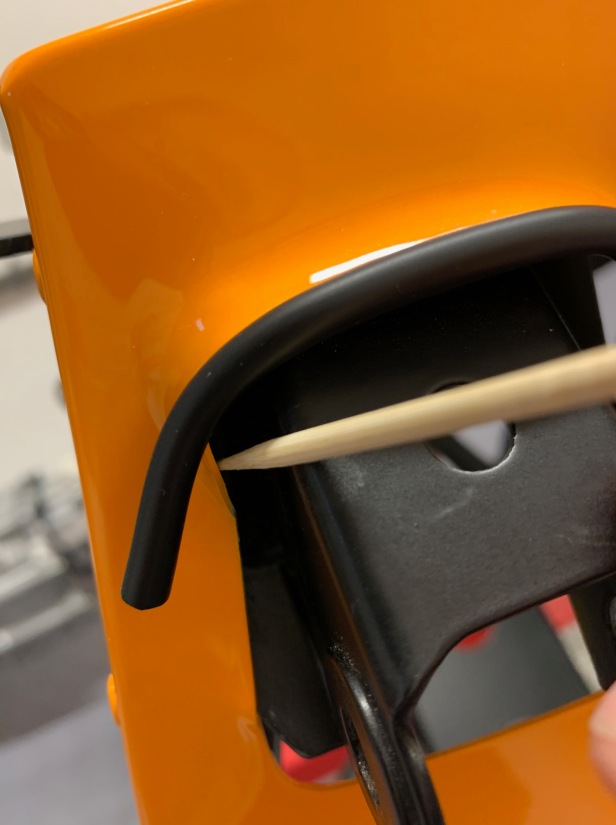
Using the same glue (and glue remover) I used for the Indicator pods, I stuck part of the trim to the chassis. I did this to make sure the trim was started in the right place. To get this glue into the right place on the chassis you will need to be precise; I used a wooden skewer to do this, but any small blunt disposable thing, that isn’t going to damage paint, would do.
I waited 2 hours for the first part to stick, then applied glue to the rest of the trim. Any visible glue on the outside was instantly removed using glue remover and a clean microfibre. The glue on the inside I might leave, as evidence for the IVA inspector that the trim is permanently attached.
Glue the other half 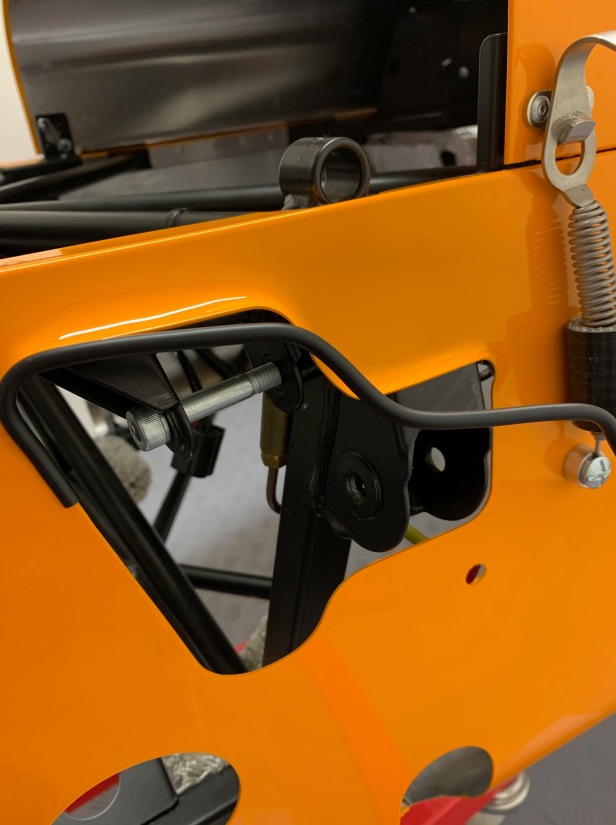
Second half 
Glue on the inside

My 360R kit was delivered in mid-November. It included the standard IVA trim but not the smaller trim recommended here which is available from Caterham, stock code 300V036A, Rubber trim third brake light and sold by the metre £2.61 plus VAT.
I fitted it without adhesive and left it overnight to take a set. There is not much area to work with so care needed when applying the adhesive. The final result is neat and tidy and I’m pleased I followed Chris’s recommendation.
LikeLike
Thanks Nick, I will update the post to provide the Caterham part number.
LikeLike
Hi Chris…this whole blog is going to be a life saver for me…I’ve got a 360R coming in a few months, and you’re answering all the questions that came to mind while I was going through the assembly guide! Thanks mate…you’re a steely-eyed missile man 🙂
LikeLiked by 1 person
Jeremy, good luck with the build. If you want to pick my brains, more than happy to help. Just send me a message from this site and I will give you some contact details.
LikeLike
Many thanks Chris…much appreciated 🙂
LikeLiked by 1 person
Is there actually a requirement to glue in place? I have fitted IVA trim and it’s holding in place without any glue (for now)!
LikeLiked by 1 person
The trim is part of the bodywork, so the only stipulation is it need to be secure. Although your not going to fail an IVA test on a bit of loose trim, assuming you rectify it there and then, the inspector will be expecting a permanent solution, so it’s best to have it secure for the test.
LikeLike
OK, thanks for the tip.
Looks like I can’t get any Loctite 37532 in the UK so been recommended Teroson RB 4120 which is a windscreen sealant. Only thing is it’s applied with a nozzle but I suppose I can squirt some onto a dish and apply with something smaller. Hopefully easier to remove in the future. Will give that a go!
LikeLike
So I have used the Teroson RB 4120 for the IVA trim. Remains VERY tacky even when fully cured. The trim will easily come off when pulled, but it won’t fall off. Definitely not superglued in place, will that be enough??
LikeLiked by 1 person
Ultimately it’s down to the IVA examiner. I have never seen them pull at trims trying to make them fall off, so it sounds ok to me. If your worried, have a plan b with you on the day of the IVA.
LikeLike